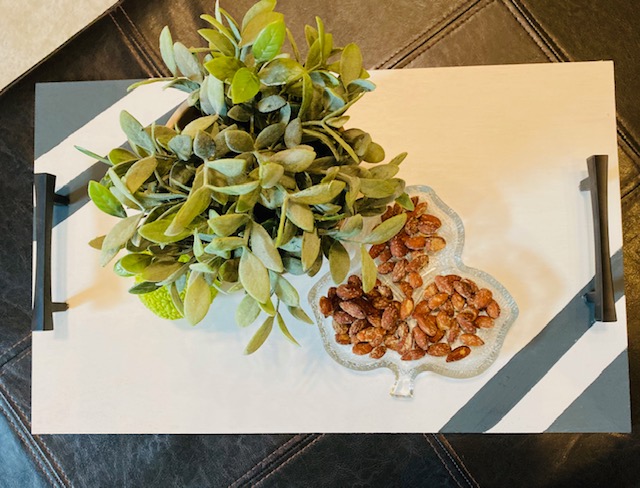
We have a way to upcycle any lumber and left over paint you might have laying around and turn it into your own serving tray masterpiece.

For this project you will need:
Lumber (we used a piece of 1/2" plywood)
A pair of cabinet hardware
Drill bit and countersink bit
Table Saw (or circular saw)
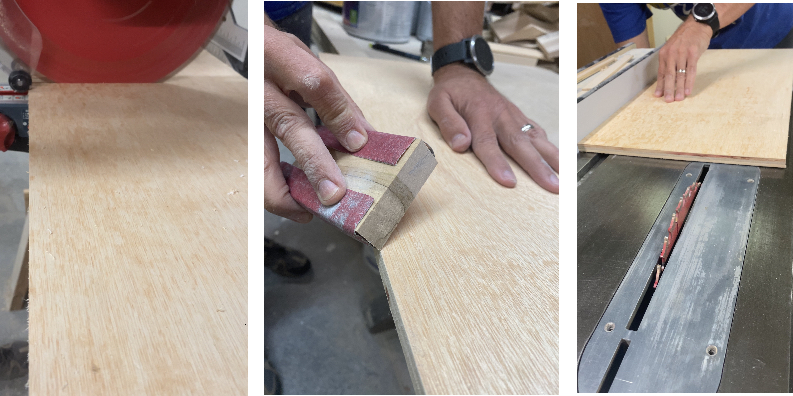
First you need to choose the size of your serving tray. To accommodate a bigger tray, we made this a bit oversized about 20x12 inch.
Trim down the plywood with a circular saw, then use a table saw and/or a miter saw to clean up and square up the board, but if all you have is a circular saw, that should do the job. When you cut a big piece of plywood, you need to make sure the grain runs at the longer length. Sand and smooth all the edges.
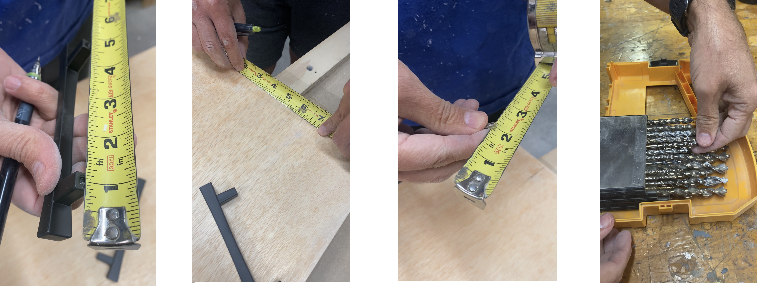
Next, measure where you need to drill for hardware. Measure how far apart you want the hardware. To determine the size of the drill bit, use the tape measure to gauge the size of the screws.

Drill the prepared marks. Since plywood is prone to splinting, we recommend using a countersink bit afterwards to smooth the edges where you drill the holes. Test if the hardware fits properly before the next step (painting).
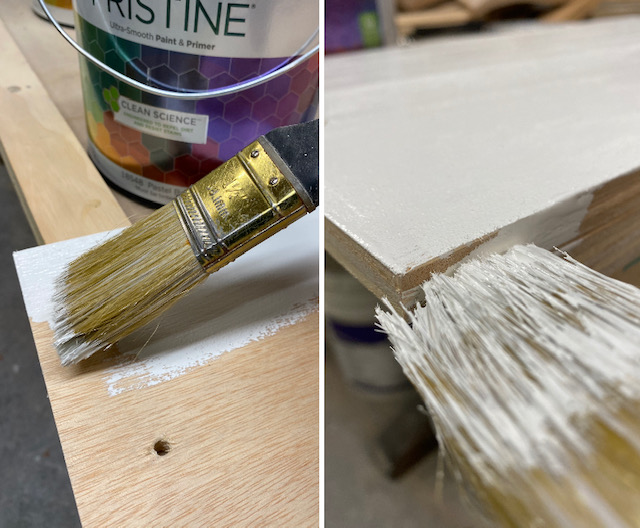
If your tray is smaller, you could use spray paint. For a bigger piece, using a paint brush will render a smoother finish. Apply primer first and follow with the first and second base coat of the desired color . We used paint/primer satin finish all in one for this project. (all painting steps, let dry in between each coat.)
PRO TIP: Save your used brush in plastic wrap and put in the fridge in between coats so that you don't need to clean after each coat and the paint won't dry out.
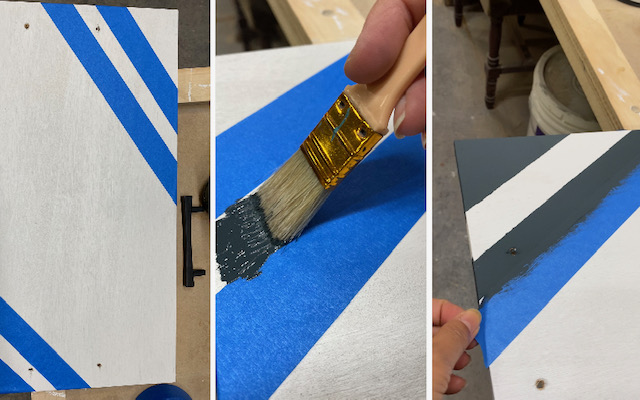
For this one, we decided to add a little design using painters tape and an accent color. Make sure the tape is pressed firmly against the surface to avoid excess paint running into the undesired area. Apply 2 coats (let dry in between). Follow the paint instruction for drying time. Remove the tape. Screw in your cabinet hardware and it's ready to serve up!
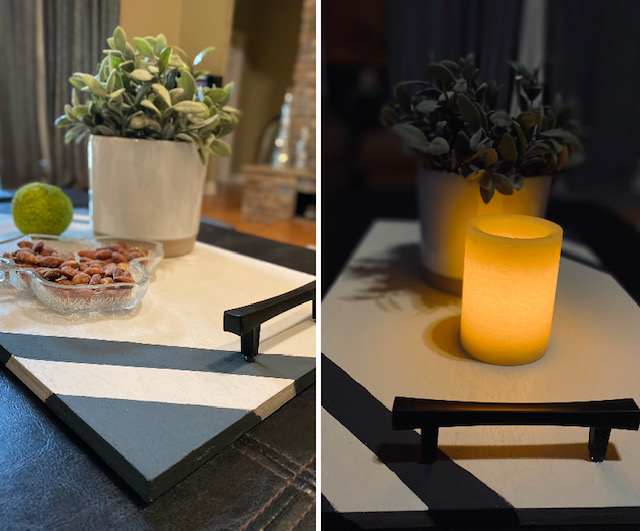
Please note that this tray is not meant for serving food directly on the surface.