
.jpg)
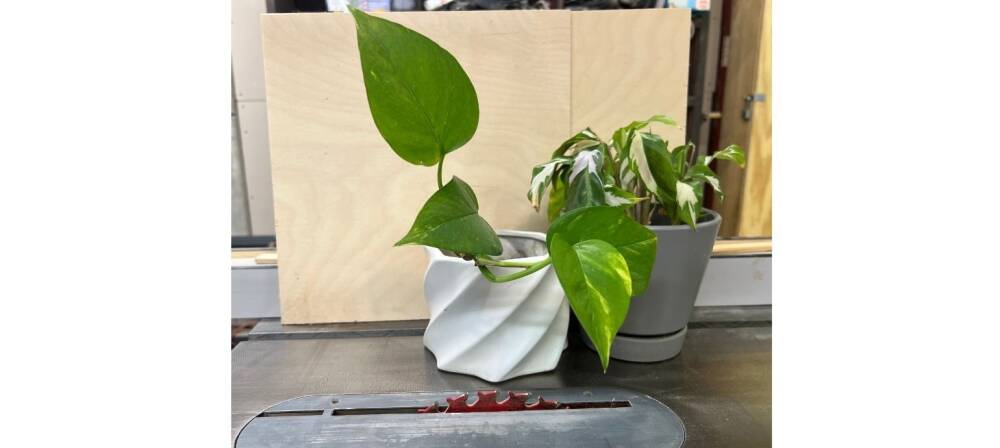
Not all planters are created equal when it comes to their shapes, heights, and sizes. If you’re a fan of indoor plants or looking to embrace this trend, showcasing them can sometimes be challenging. There are times when you want to elevate your plants without the hassle of replanting or repotting. What if we told you that you can create your own plant stand tailored to how you wish to display them?
Here are things you will need:
- A 1/4" piece of plywood
- Jig saw or band saw
- Table saw
- Mitre saw
- Tape measure and ruler
- Carpenter pencil
- Protactor or angle ruler
- Chisel
- Hammer
- Sand paper
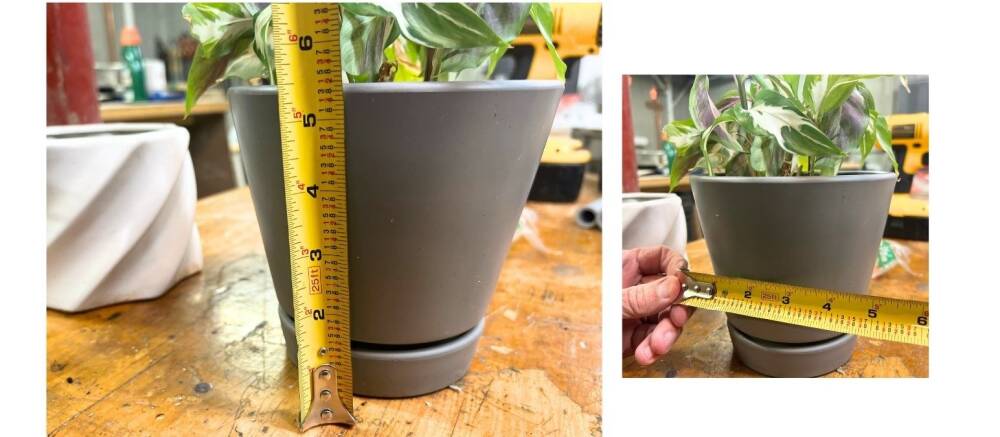
Measure the planter for which you require a stand, taking into account both its height and width. Decide on the desired height for the stand as well.
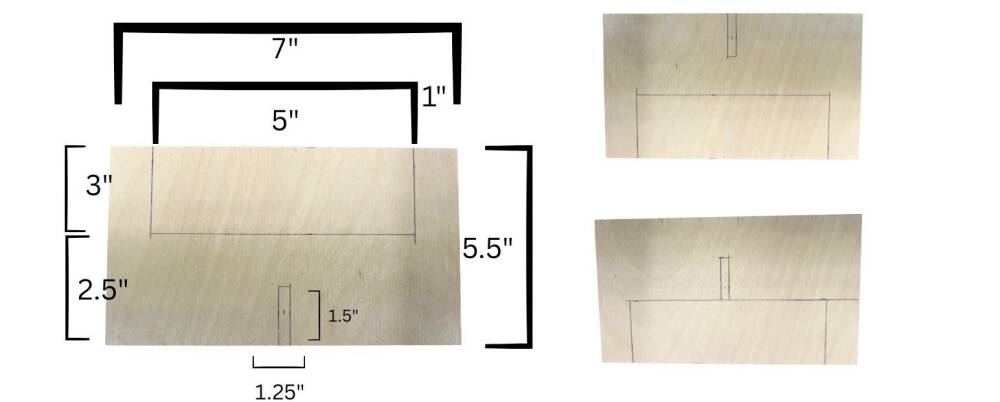
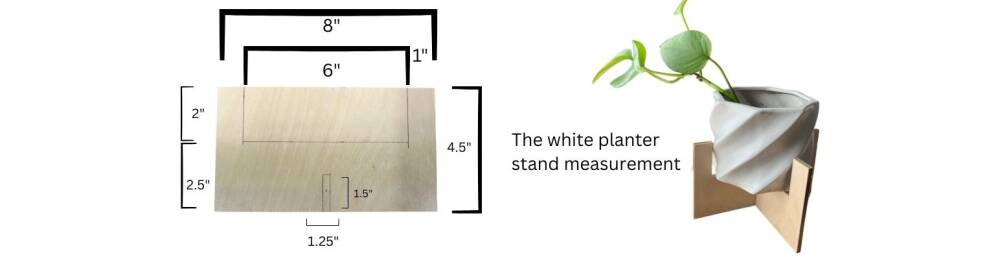
Measure all the areas that need cutting. You will need two pieces, each with a notch positioned differently, to create a crisscross interlocking effect.
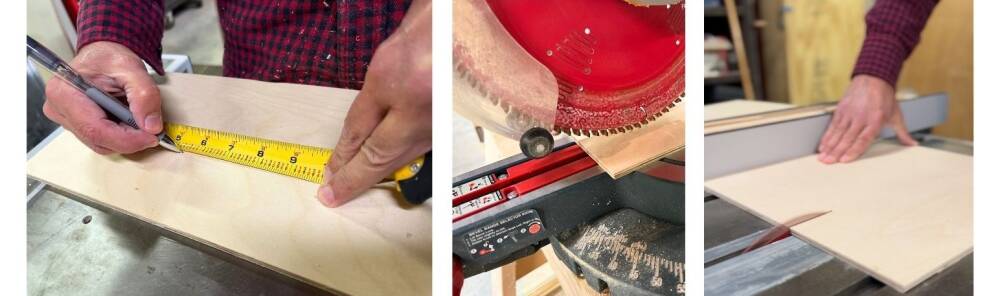
Using the table saw and miter saw, trim down the wood to desired size.
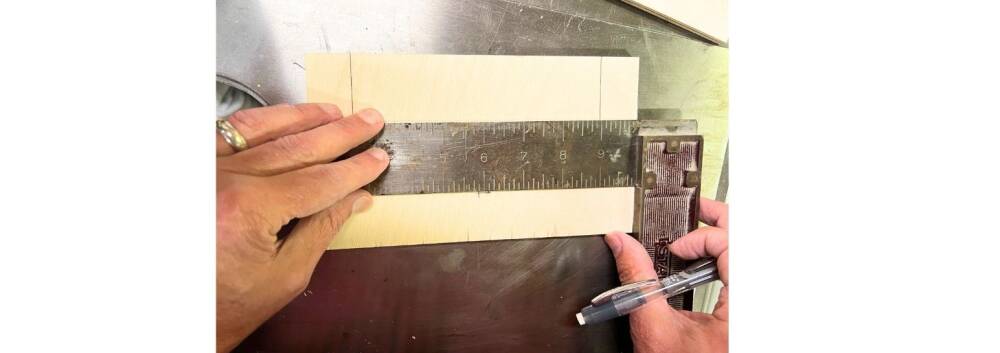
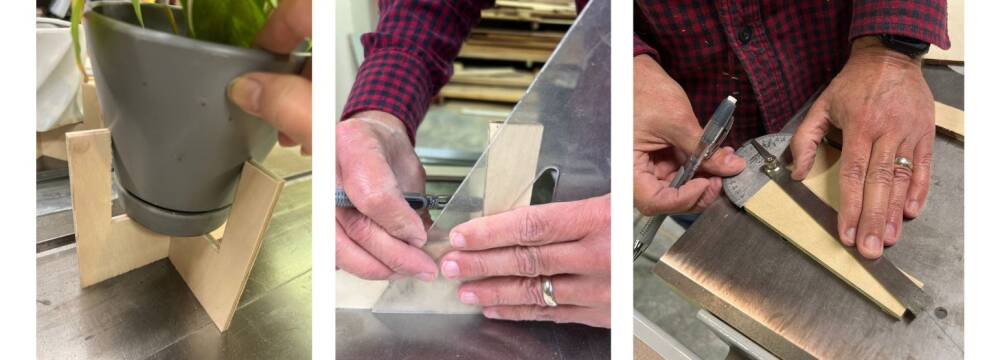
We strongly recommend utilizing a square ruler for precise and level measurements.
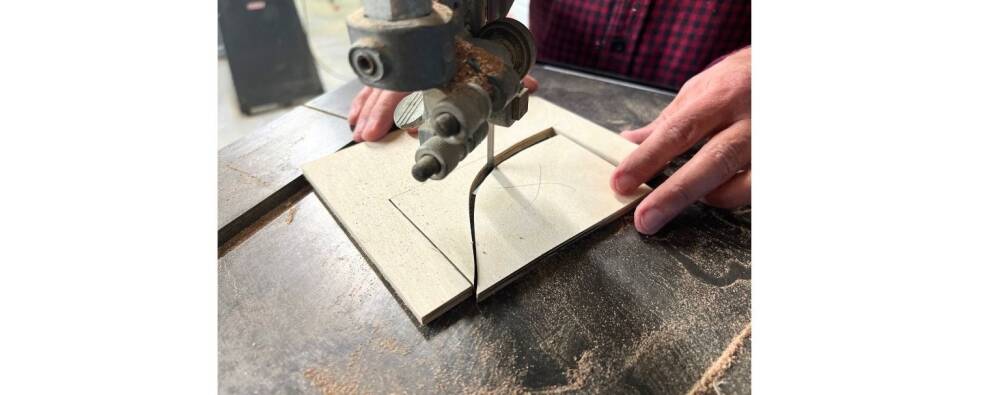
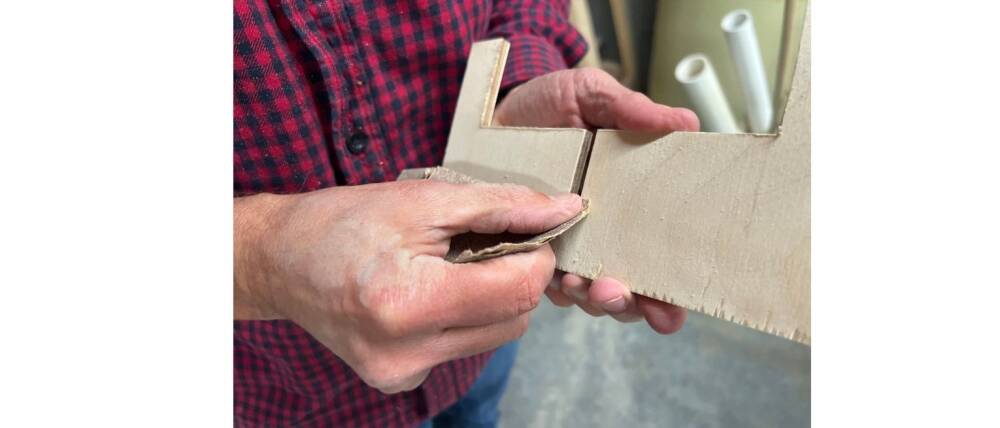
Mark the X on the area where you will cut off. We used a band saw to keep the small piece stable instead of a hand saw.
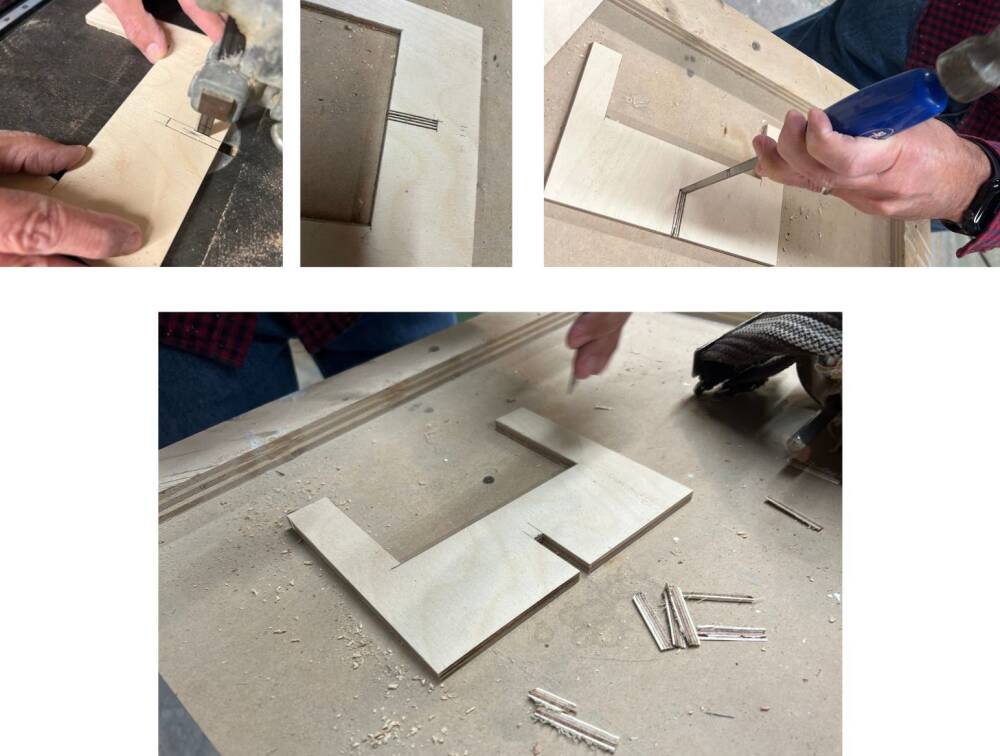
The key to creating the notch is to make several vertical cuts. Use a chisel to knock out the area.
Sand both pieces thoroughly.
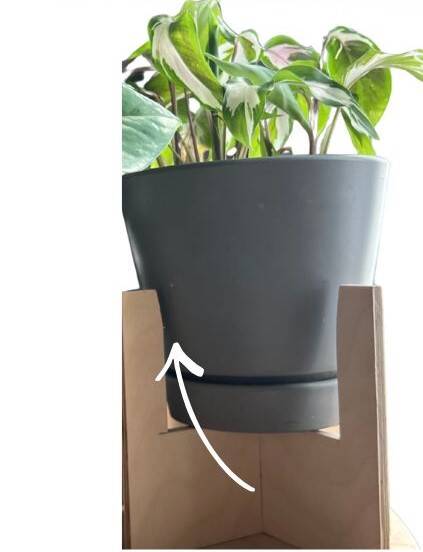 |
Troubleshooting: During our testing of the stand for the gray pot, we found that it did not fit securely due to the pot's tapered shape. To resolve this issue, consider modifying the top of the stand to create an angle that allows for better spacing. Utilize an angle T and a protractor to mark the appropriate location for adjustments. |
.jpg)
You can stain or paint them to match your room's decor. Additionally, consider creating varying heights to form a stunning display.