This weeks’ project is something we wanted to do to celebrate fall. With wall hangings becoming more and more trendy, we wanted to try our hand at making our own. This project doesn’t involve a lot of supplies, just a decent amount of time. It is perfect to do while watching movies!
We started by getting household twine, which you can get here.
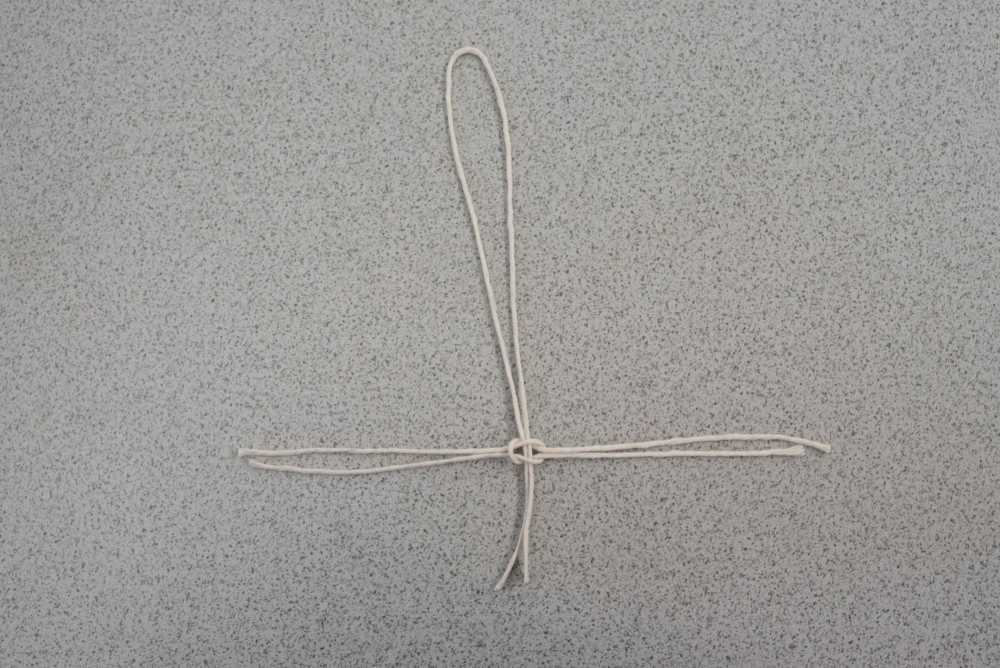
Start by cutting a long length of twine and folding it in half. Then cut two shorter pieces of twine and fold them in half. Place one of the short pieces under the long piece, and the other short piece over the long piece. Then, put the ends of the short pieces under the loops and pull like below.
Continue this step until you have gotten to the length you want for your leaves! This takes a good amount of time, but is easy to do while you simply relax on the couch. Also, we didn’t measure each piece as we had the intentions of cutting everything down after. Once all of the short pieces are attached, we used a fine-toothed comb to brush through it. We like the fluffier look, but if you prefer it the way it is, you can skip this step!
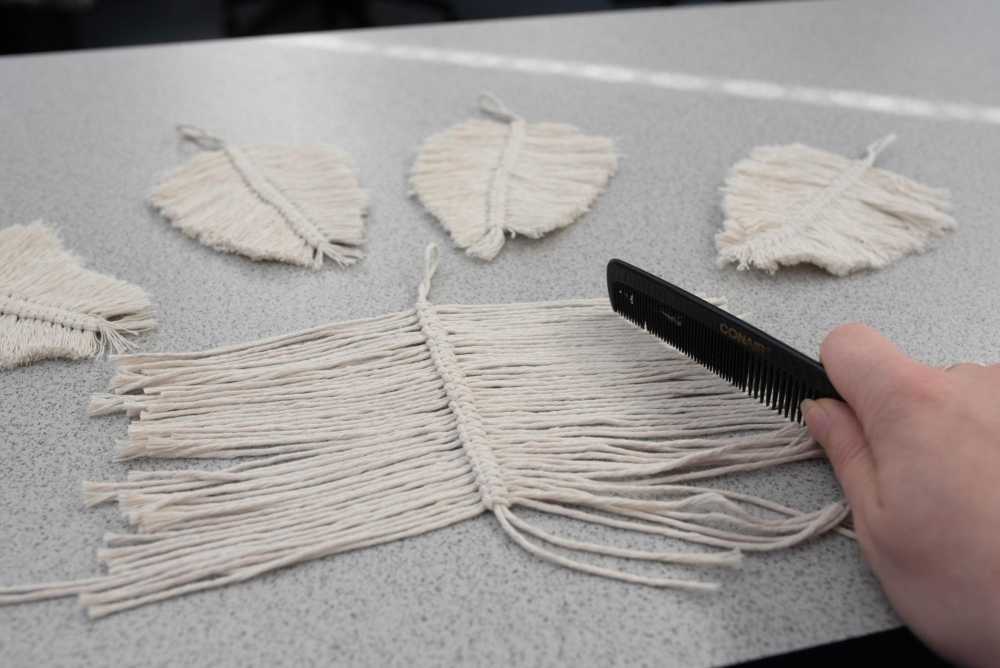
Once your leaves are combed completely through, trim them down to whatever shape you want. We liked ours to look slightly rounded at the top to closer resemble leaves rather than feathers. However, feathers are also perfectly acceptable for this project! Now that all of the leaves are cut, it’s time to dye them! With this step, just follow the instructions for the fabric dye you use. We used Tulip brand dye in the colors bright red, orange and sunshine. Be sure to rinse them extremely well and dry them immediately. The dye likes to creep up the twine, so keep that in mind.
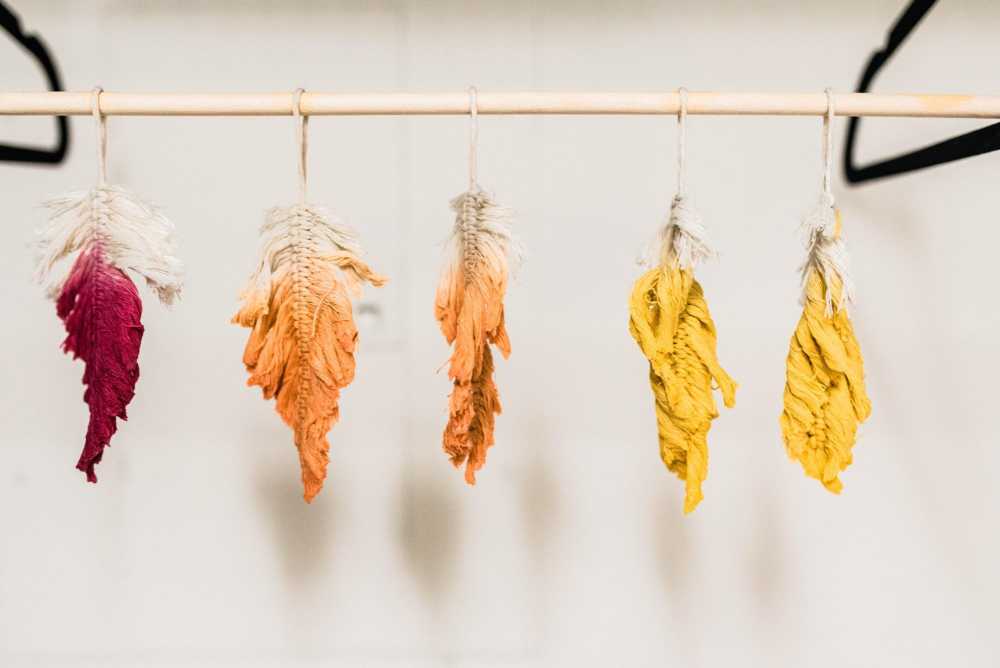
Here is our set up for drying the leaves. We simply put a dowel rod between two hangers and hung the leaves on the dowel rod above a bucket to catch any drips. We let ours air dry a decent amount until they were damp and then we finished drying them with a hair dryer. This helped them from drying too wild and curled up.
When all of our leaves dried, we used a straightener on them, just to help them lay a little more flat. Then, we attached them to a stick we found outside. Once they were attached, we were ready to hang this on the wall!
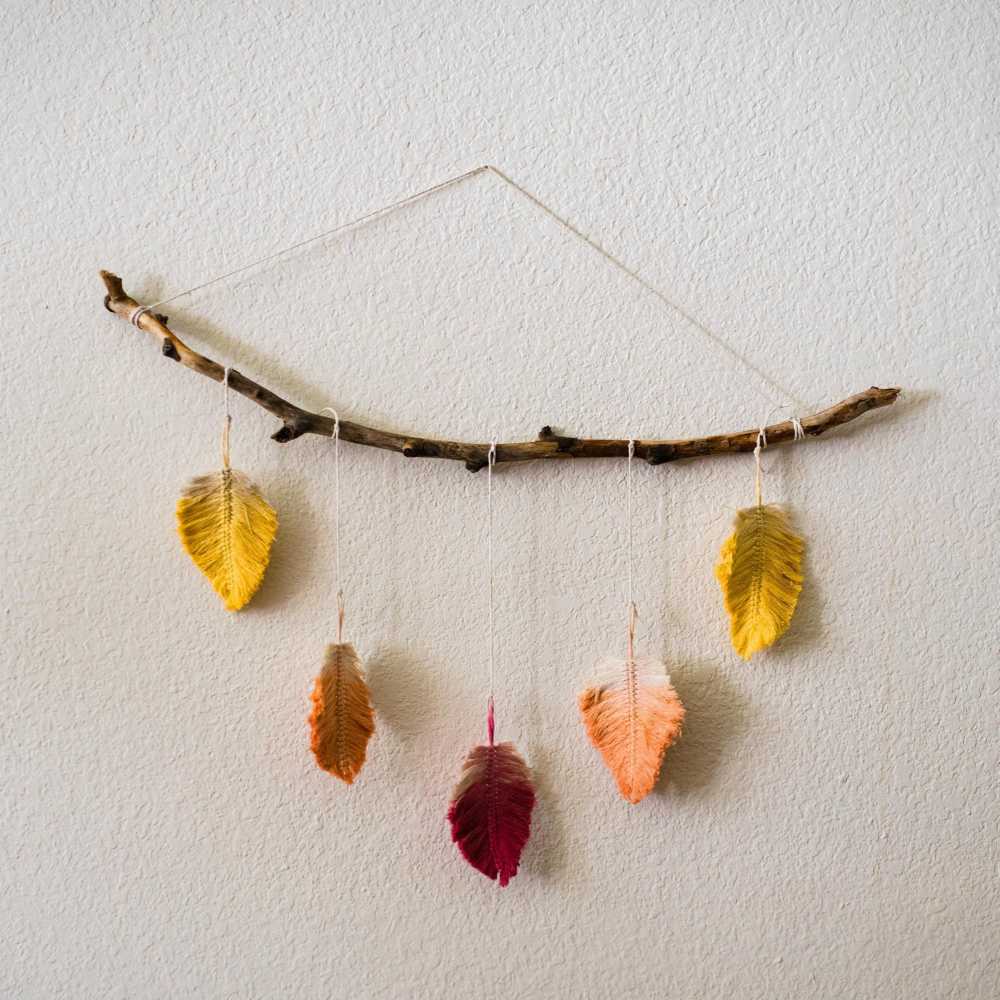
We are definitely in a fall mood now and can’t wait to see everyone’s fall wall hangings! Email your results to sarah@sutherlands.com