You can buy these premade but we voted for Do-It-Yourself! However, some projects might look easier than they actually are. We will show you how-to and share tips we learned along the way using this paint dip method.
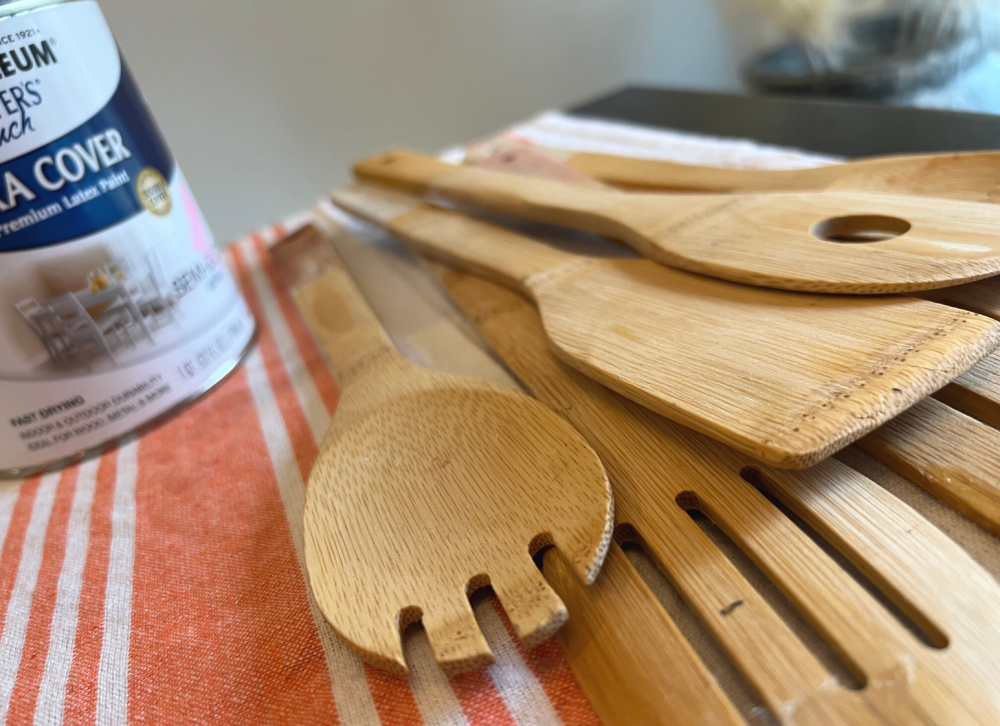
Things you will need:
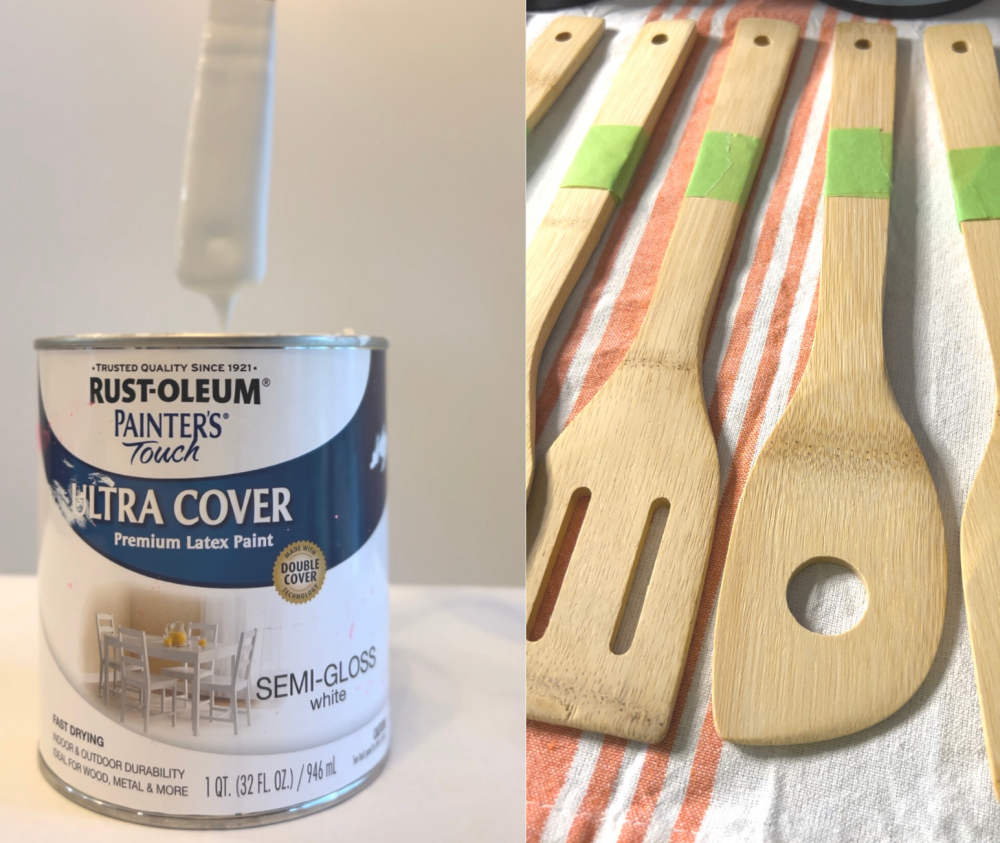
- A set of wooden utensils
- Paint, color of your choice. (We used semi gloss latex paint.)
- Paint brush
- Painter's tape or pencil for marking
- Gloves
There are a few ways to start the dipping process. You can try using a painters tape marking where the line stops . BUT this is where you need to really tape it tight to create that sharp line when you remove the tape.
Ours didn't turn out so well with this method. Some of the paint leaked through. We found it much easier to use a pencil to mark the line and then dip. Be mindful of how much paint is in the can and how far you can submerge the wooden handle. You can always tilt the paint can to get to the height you need.
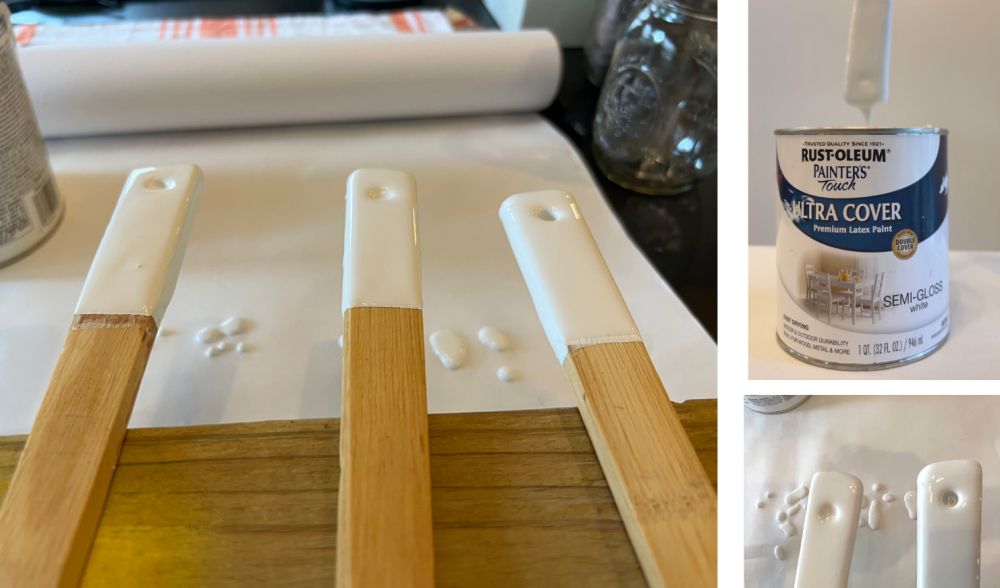
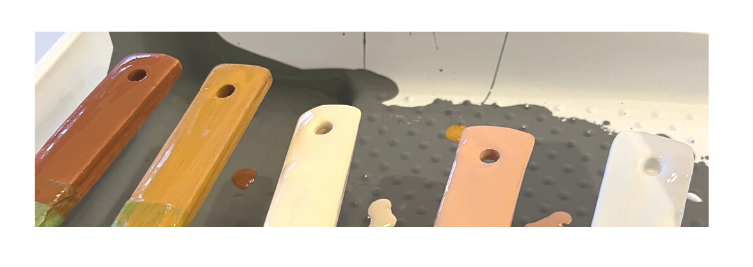
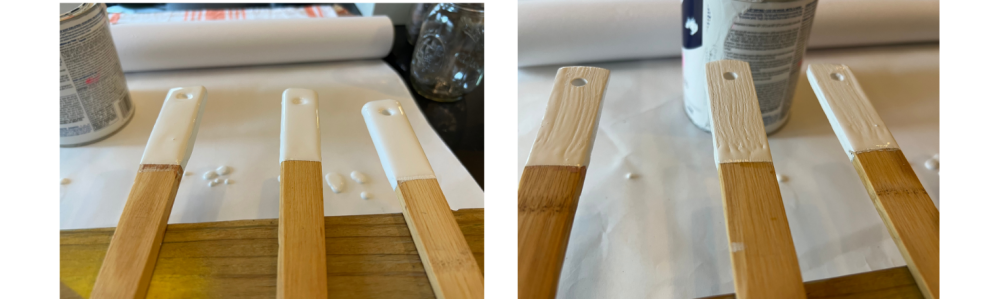
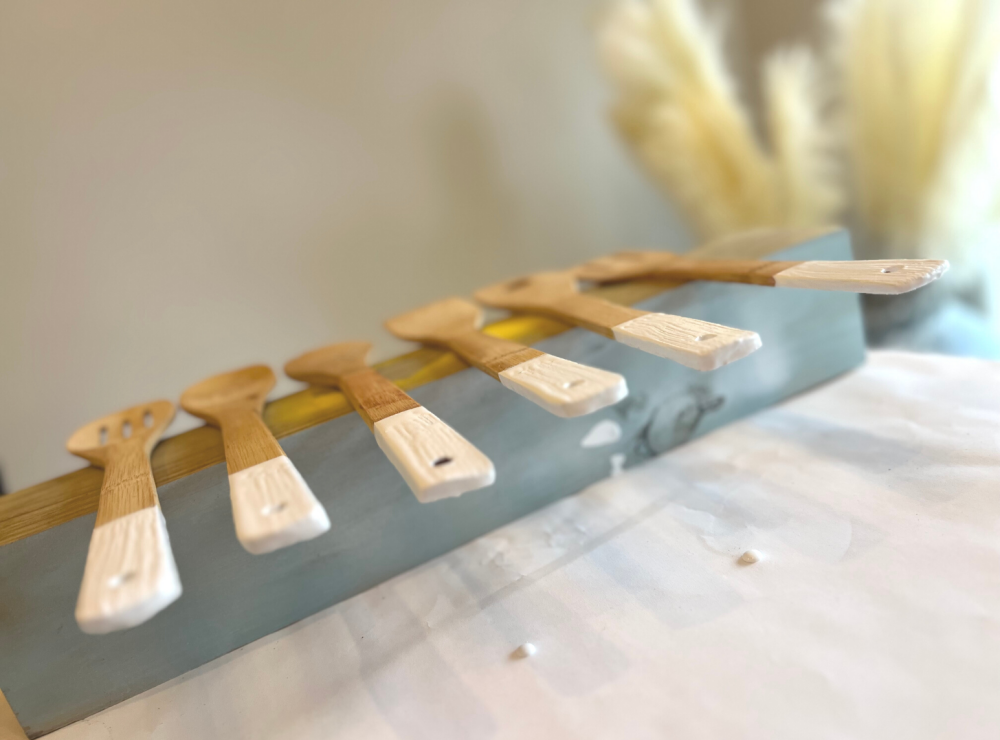
There are 2 ways to dip, each will render a different finish. This one we dipped without brushing the excess paint off. With this method you need to keep rotating it a bit as excess paint can form a big glob on the other side. You can use a paint brush to lightly tap excess off. Keep your eyes on it. The finish result using the semi gloss will look like porcelain.
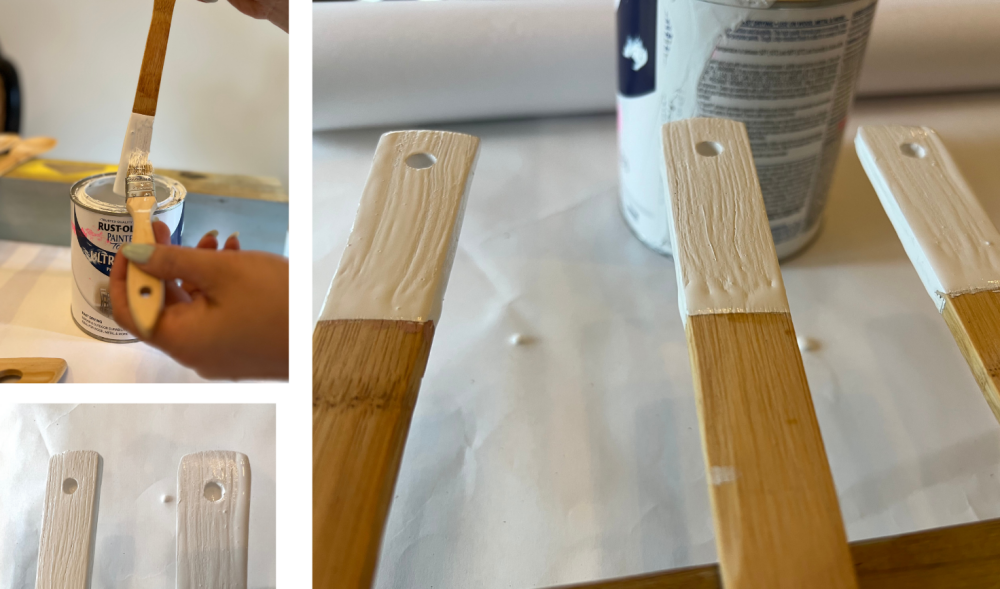
The second way (much easier,) is to brush off the excess right away after dipping. This way you can see the wood texture come through. They look more matte and rustic which is nice as well.
(left: no brush Right: with brush)
Let dry overnight. We have read that some people bake these to cure the paint so you can put it your dishwasher. This depends on the kind of paint you use. Since we used Latex paint, we DO NOT recommend a diswasher. It is best to hand wash them.
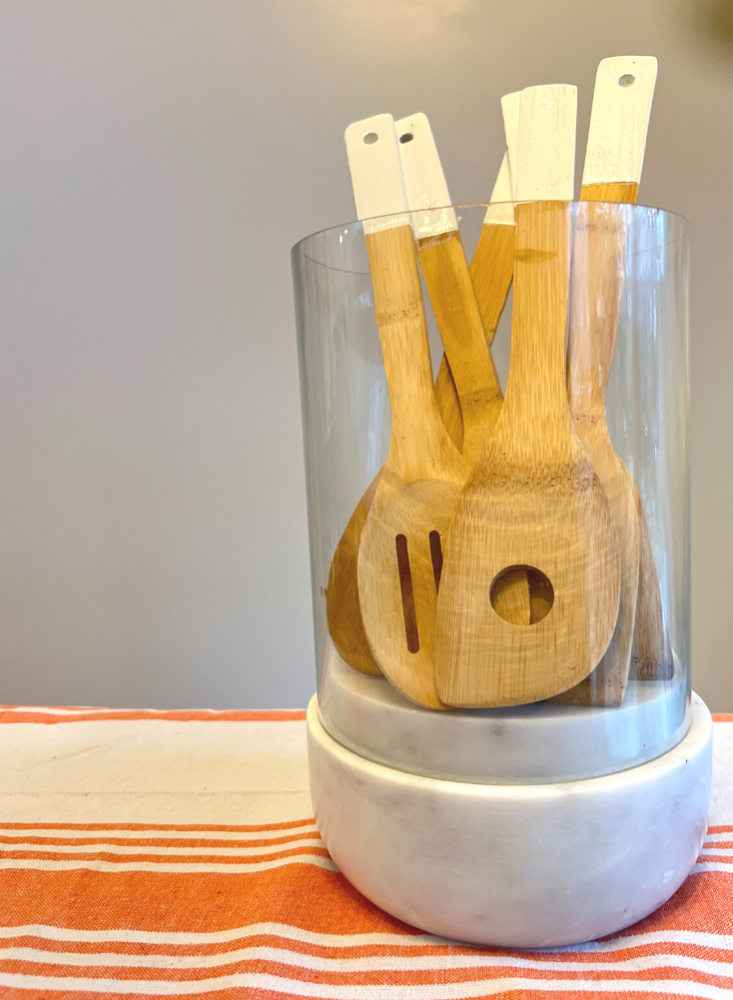 |
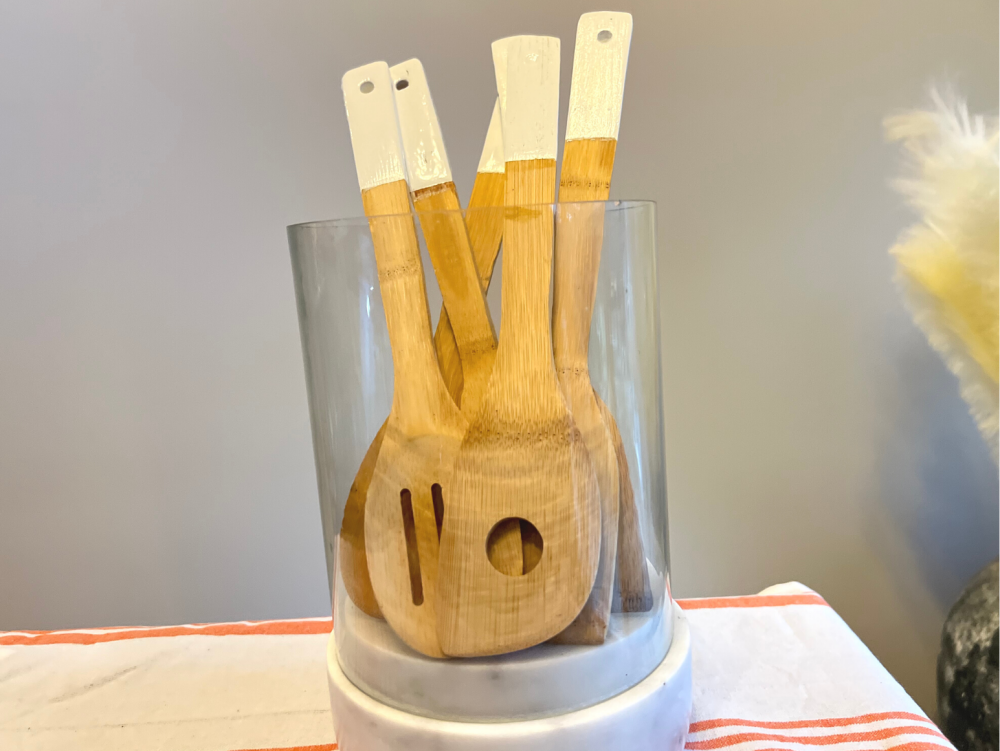
Have fun with creating a color combo set. If you have lots of extra paint laying around, dip them all in different colors. They can make great kitchen accents that you can hang on the wall or put on display. Use your imagination and dip away!
|