.png)
There are several advantages to straw bale gardening that may be attractive to both novice and experienced gardeners. One of the pleasant attributes is that there is virtually no weeding required. Another is that you are working on an elevated surface, therefore there is less stooping and bending over. Plus, less space is used in the process, similar to container gardening. However a successful attempt does require a bit of patience and planning.
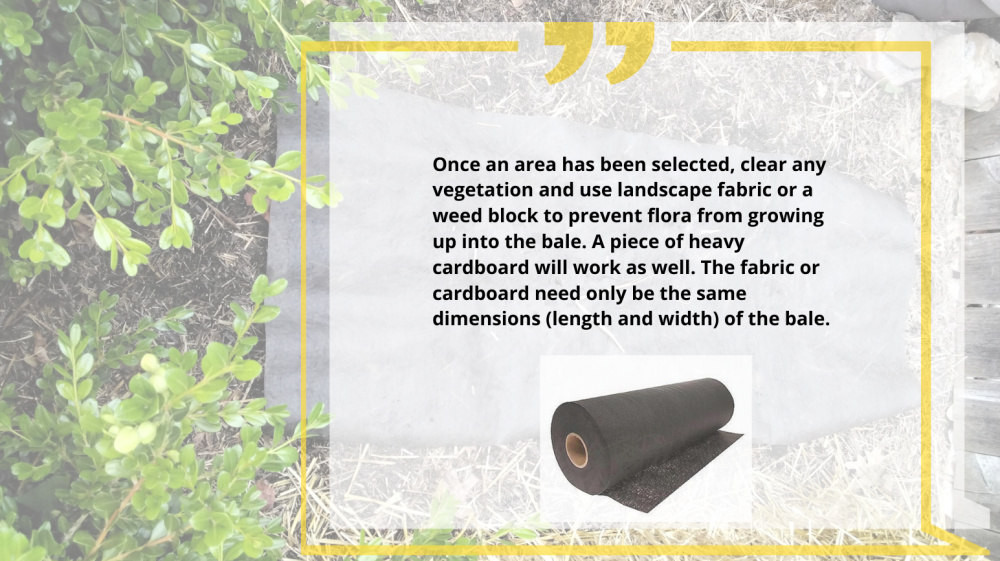
As with a traditional garden, choosing a site is paramount to your success. For straw bale gardening, the site will need to receive six to eight hours of direct sunlight. Also, the area needs to be level and clear.
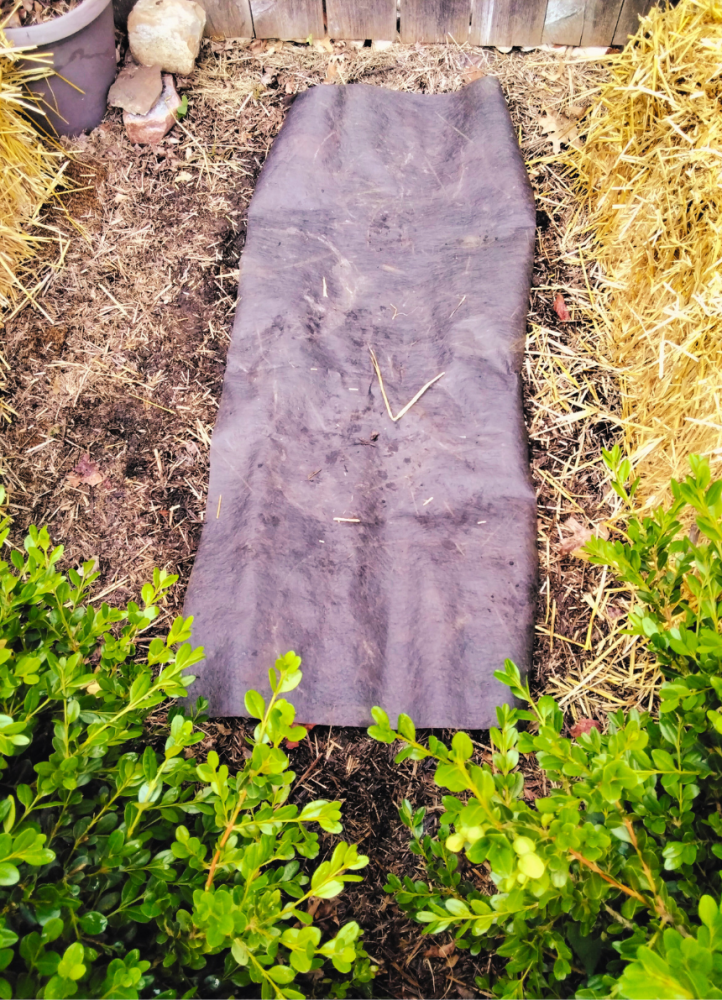 |
In 2023, Steve used the same location as the previous two years. (Pictured is the site with the weed barrier in place).
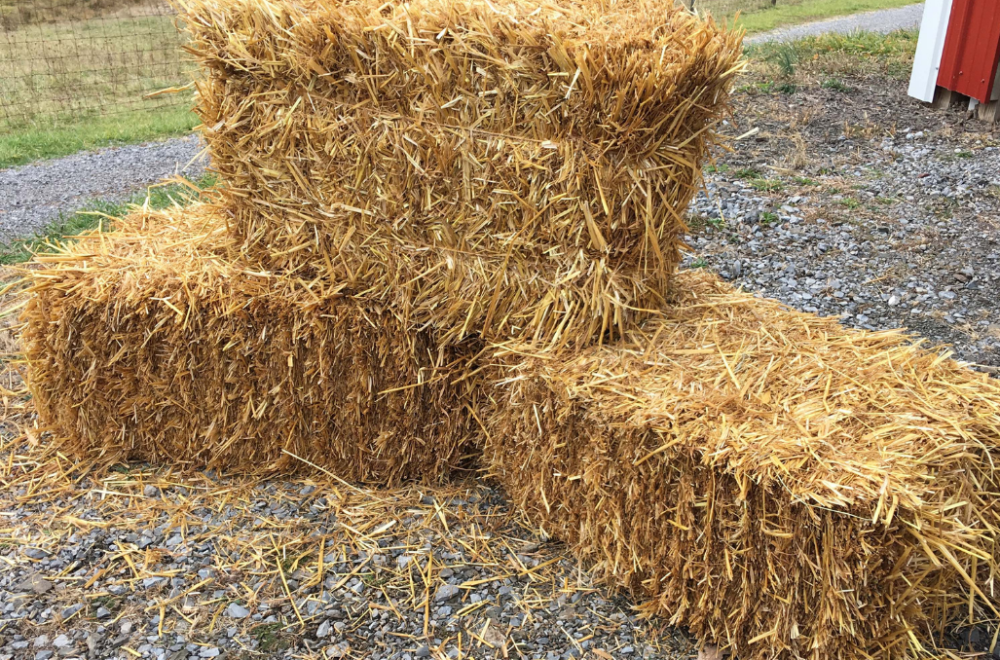
A straw bale is approximately 20 inches wide by 36 inches long and sixteen inches deep. The top surface area can accommodate two or three tomato plants for example, so use that as a general guideline to plan how many bales you might want to use.
|
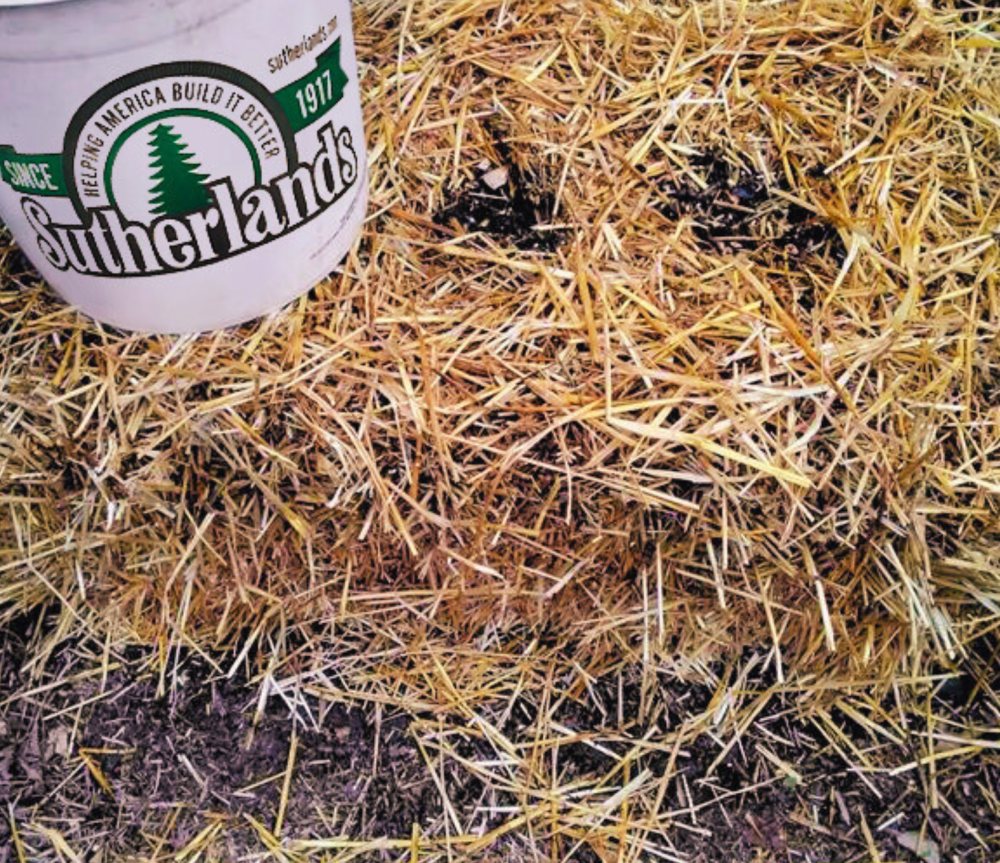
Place the straw bale on the fabric and “dig” (create) the holes on the top of the bale in the location you want to add your seed or plants but not too close to the edges (I use a bulb planter drill attachment and cordless drill to complete the task). Add about a cup or two of compost to the hole. Next add 1/2 to one cup of balanced granular fertilizer (10-10-10) to the compost and then another cup around the opening but on top of the bale.
|
Drill slowly with an up and down motion to remove straw from the opening.
The next ingredient is the patience part. The bale needs to be “conditioned” for ten days to two weeks with a liberal dose of water each day. Steve applies a five gallon bucket of water on each bale daily, during the conditioning period. The water, along with the micro-orginisms in the compost, and the fertilizer, will start to decompose the bale and heat it up. Some people call this process “cooking” the bale, as opposed to conditioning. Regardless, this is a step you cannot rush and is needed to provide a healthy environment for the plants. The time and the watering allows the fertilizer to soak into the bale so the roots will receive nourishment as they grow outward and down.
|
.png) |
If you have had a run of cloudy days and not sure if the bale is appropriately conditioned, stick a couple fingers down into the hole and compost and check for warmth. If it feels warm then you are probably good to go. If not, use a thermometer first thing in the morning. If it is above 50 degrees, you should be okay.


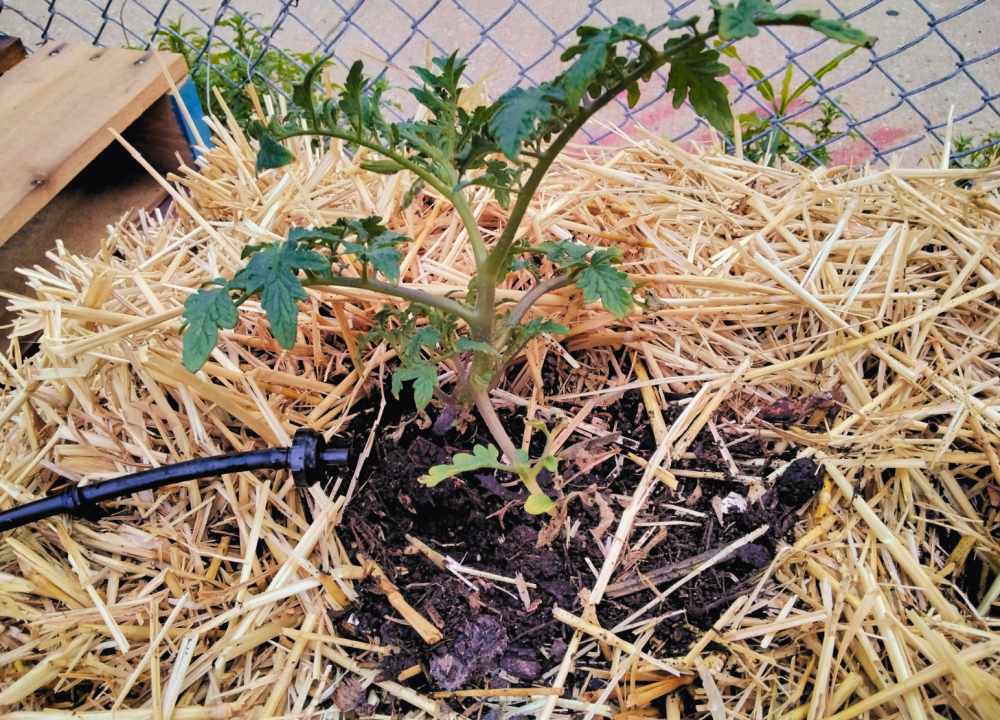
After conditioning, add your plants or seeds and cover with potting soil. Water thoroughly.
A downside to straw bale gardening is that it requires more watering than traditional gardening. The capillary action of the straw allows water to move freely through the medium. Steve has made that job fairly effortless by hooking up an inexpensive irrigation kit to a rain barrell such as the Rain Bird Patio Watering Kit. Using a mechanical garden hose timer and the directions supplied by the irrigation kit (for instance one gallon per hour drip emitters per plant) he simply goes out every morning during the growing season and turns the timer to two hours.
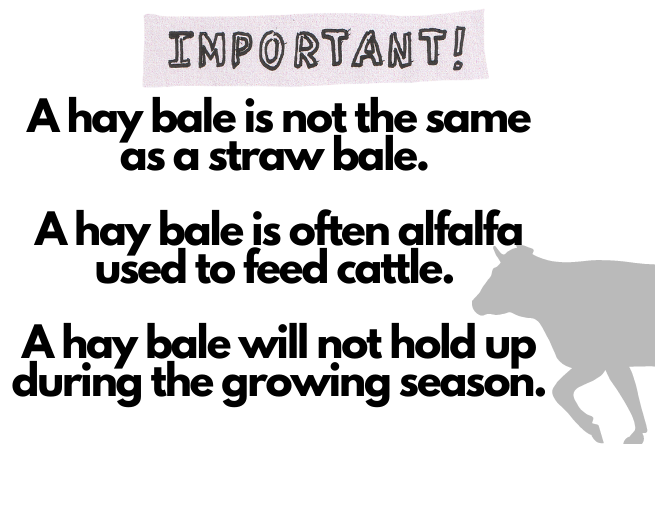
The bale should last through the growing season if the bailing string is not removed. Once its growing job is complete, the leftover straw can be used as mulch if you desire.
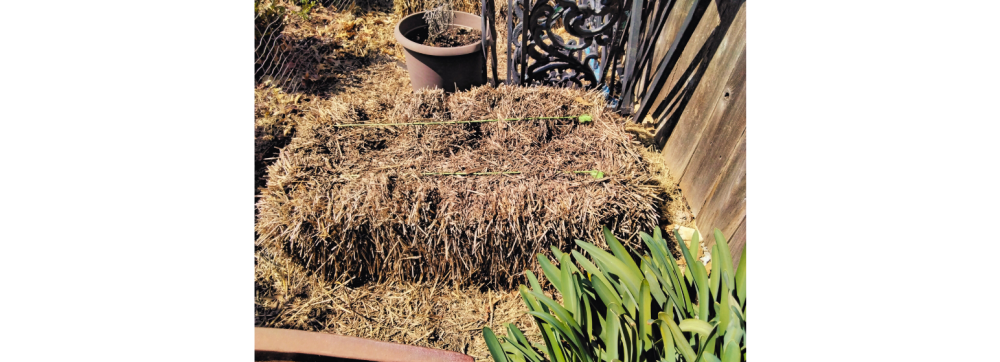
Pictured is a weathered bale that made it through the winter.