Spring is just around the corner! As you prepare your home and garden for the vibrant season ahead, Sutherlands presents a delightful craft project to enhance your space with charming springtime decor. This project is not only enjoyable but also a creative way to upcycle those drink coasters you have lying around. Let’s make a bunny coaster.
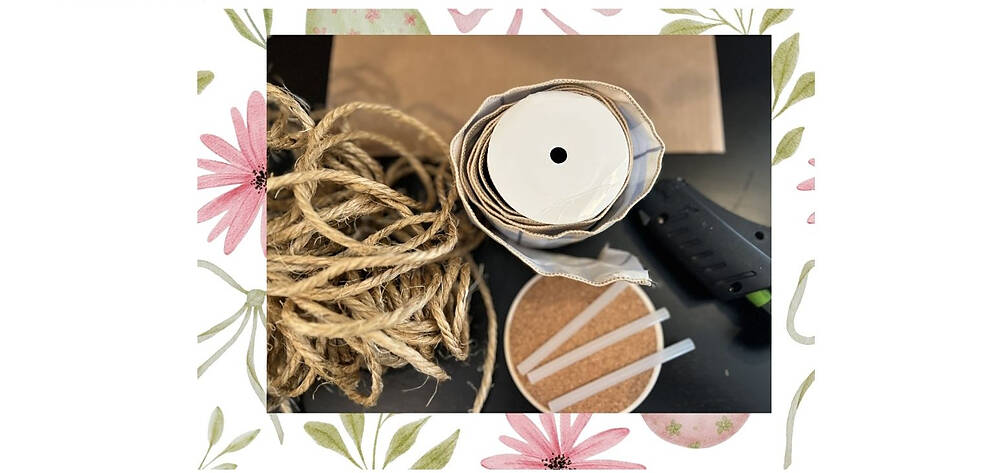
Supplies you will need:
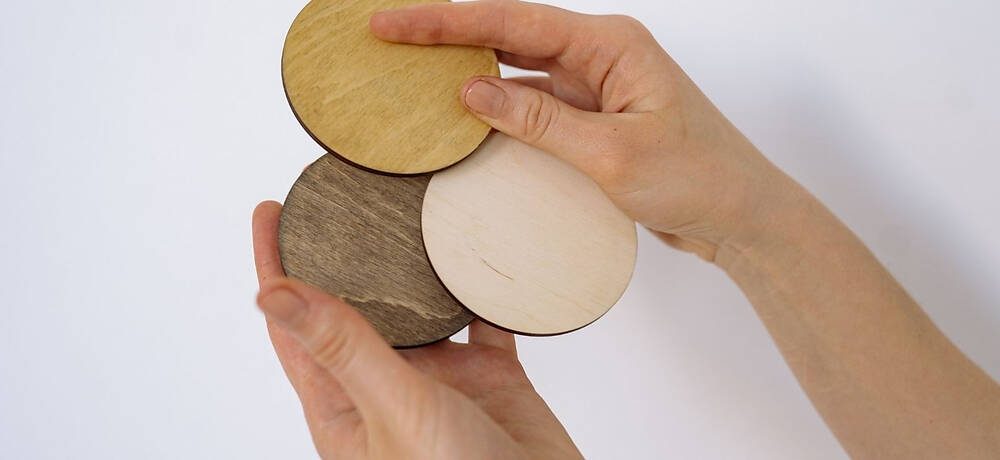
- Drink coasters
- Thick rope
- Glue gun
- Fun fabric
- Cardbord
- Scissors
- Pencil
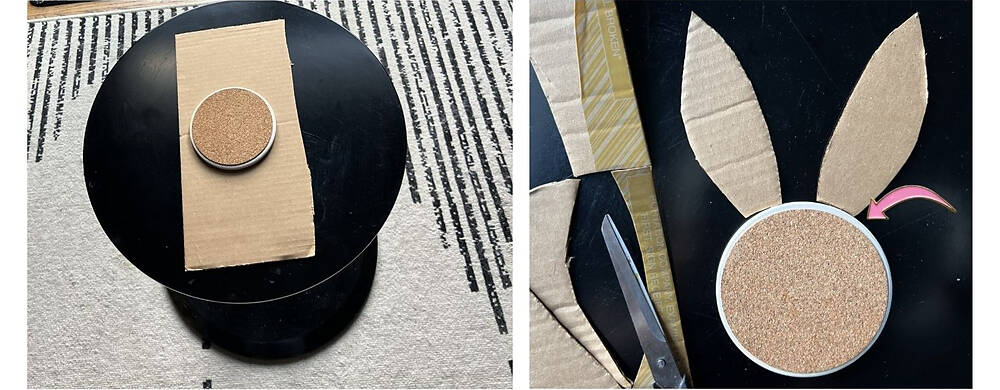
Get a piece of cardboard large enough to create those floppy, elongated bunny ears. Make sure to trace the curved end that will need to be attached to the coat (see arrow).
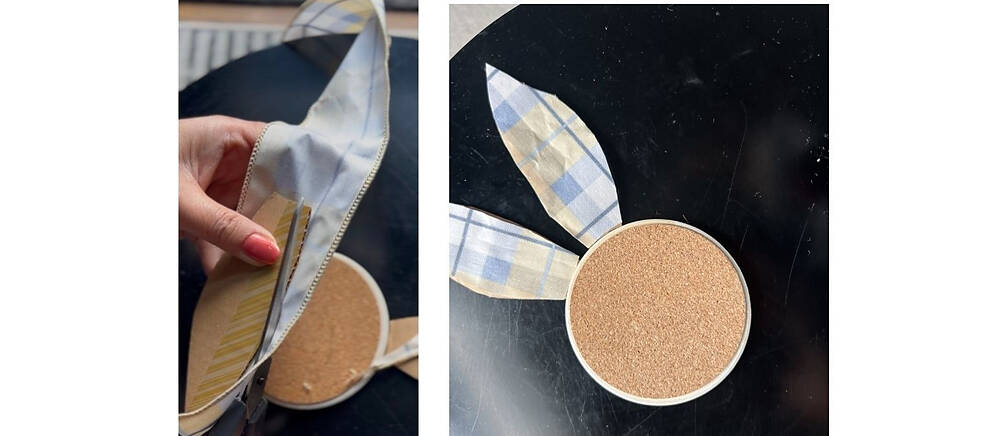
Trim fabric along the cardboard cut out to make the bunny ears. Glue the fabrick on the back.
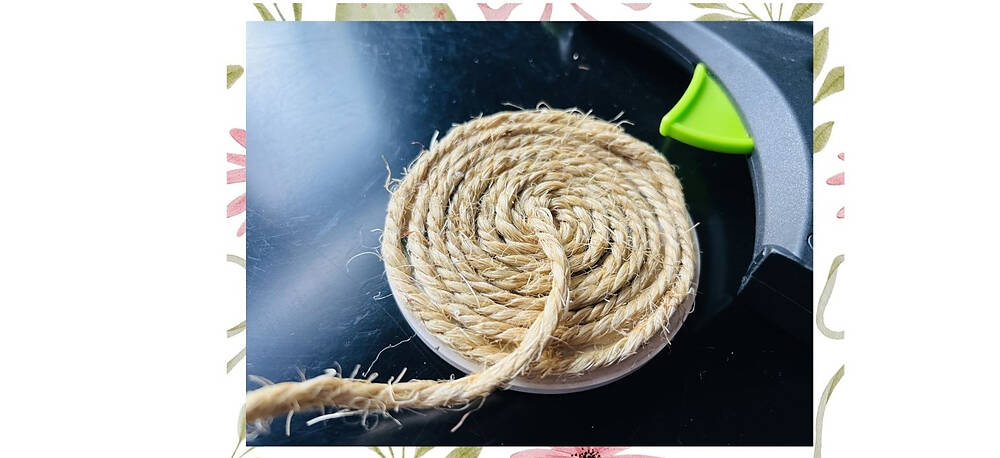
Warm up the glue gun and start affixing the rope to the coaster. Begin at the outer edge and gradually move toward the center. Trim the end carefully, ensuring that the tip of the cut is glued flat to avoid any bumps. We definitely want to prevent any drinks from spilling!

Next, outline the bunny ears using the same rope. Be sure to apply glue only to the two sides, avoiding the ends that will attach to the coaster.
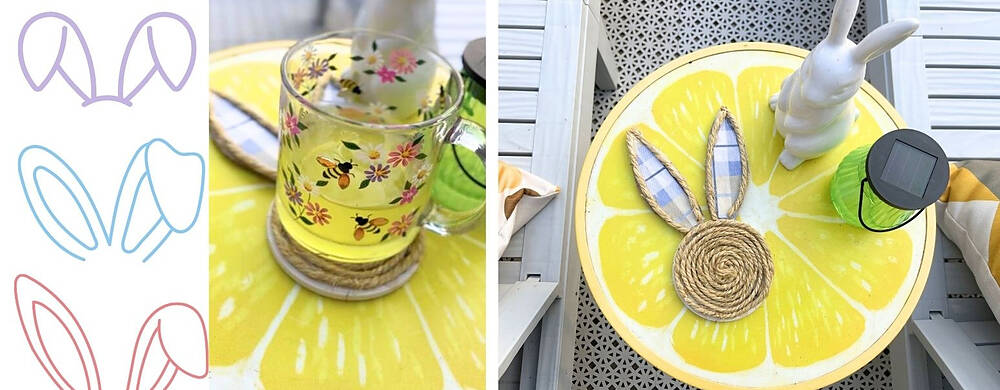
What a fantastic way to infuse your home with a springtime vibe! This project is perfect for involving kids, as they can choose their own fabric to create personalized drink coasters. Encourage them to make the ears flop in various directions for added fun! Sutherland's wishes you a hopping good time. Hello, Spring!