
It’s summer time! That means grilling out, going to the pool and generally spending more time outside! We made cornhole boards last summer, which you can find the link to the DIY here. This summer we decided to make Yardzee! Who doesn’t love giant versions of games you can play outside! We have also included a downloadable Yardzee score card you can print out here.
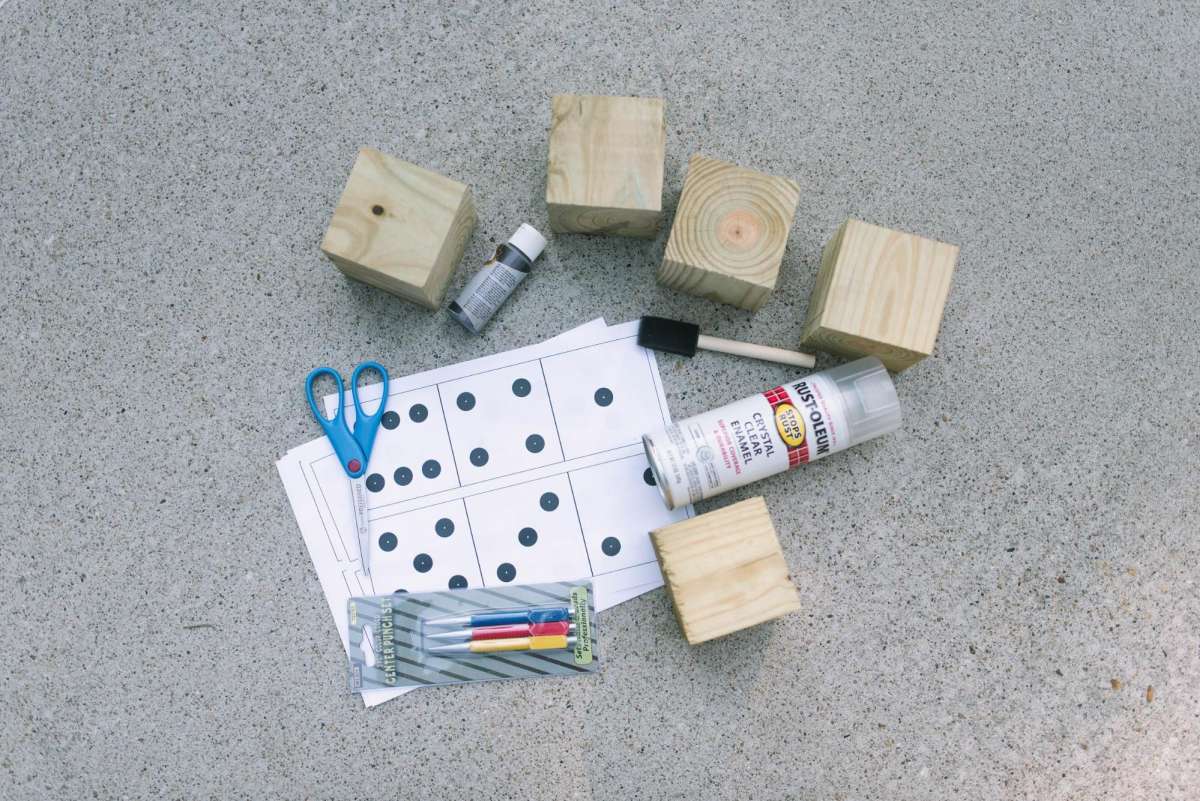
Here is what you need:
- 5 pieces of 4” x4” post cut into 3.5” pieces.
- A ⅝” countersink bit
- Nail setters
- A sander
- Sandpaper
- A drill
- Paint or stain
- Clear spray paint
- Large bucket
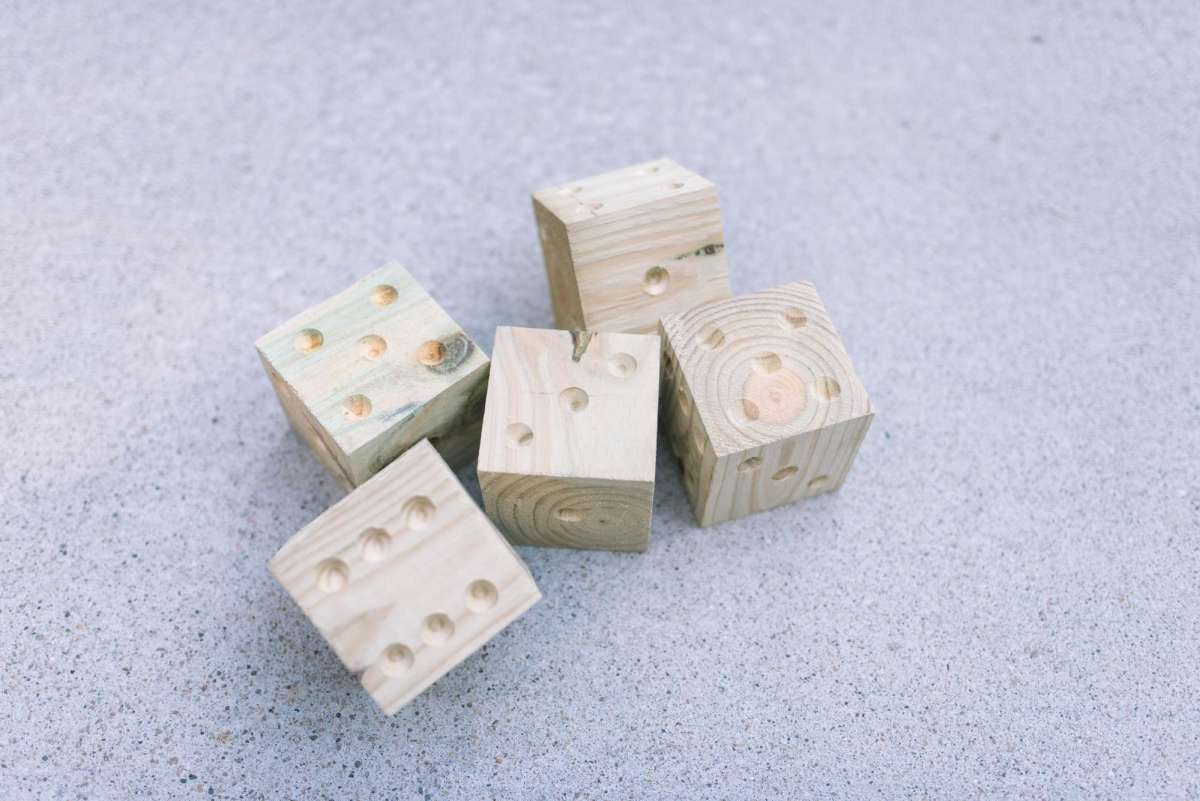
First, I had the store cut the wood for me. It saved me a step and a lot of time and cleanup with sawdust. Then when I got home, I cut up a paper template I found online! Once I printed out the template, I placed it on the cubes of wood. I didn’t tape them or anything, I just held them tightly on the wood. Using my nail setter, I pushed through the center of each ‘dot’. This way I would have accurate dice markings.
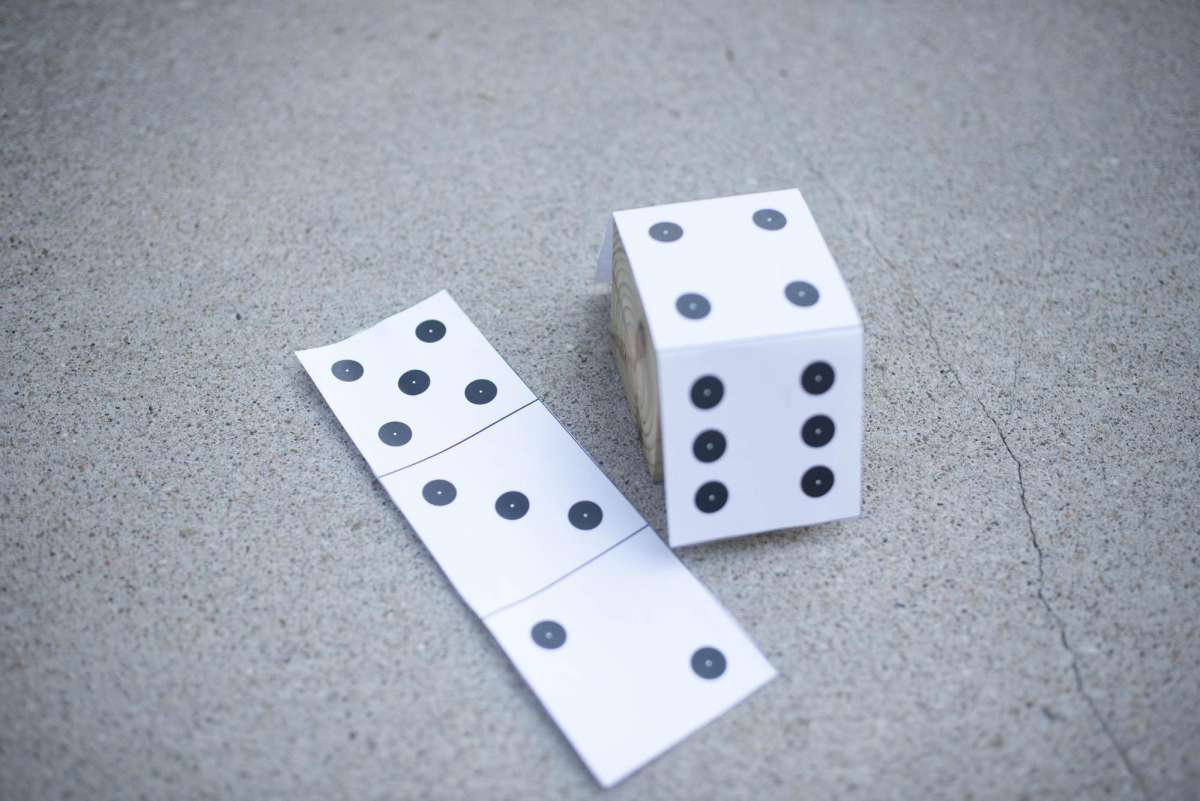
Once I finished this step, I double checked every side of the blocks to make sure I had the correct amount of dots on each dice. It is very easy to miss, so be diligent in recounting. You don’t want to end up with two of the same number on dice! This gave me a really good set up to start drilling into each side.
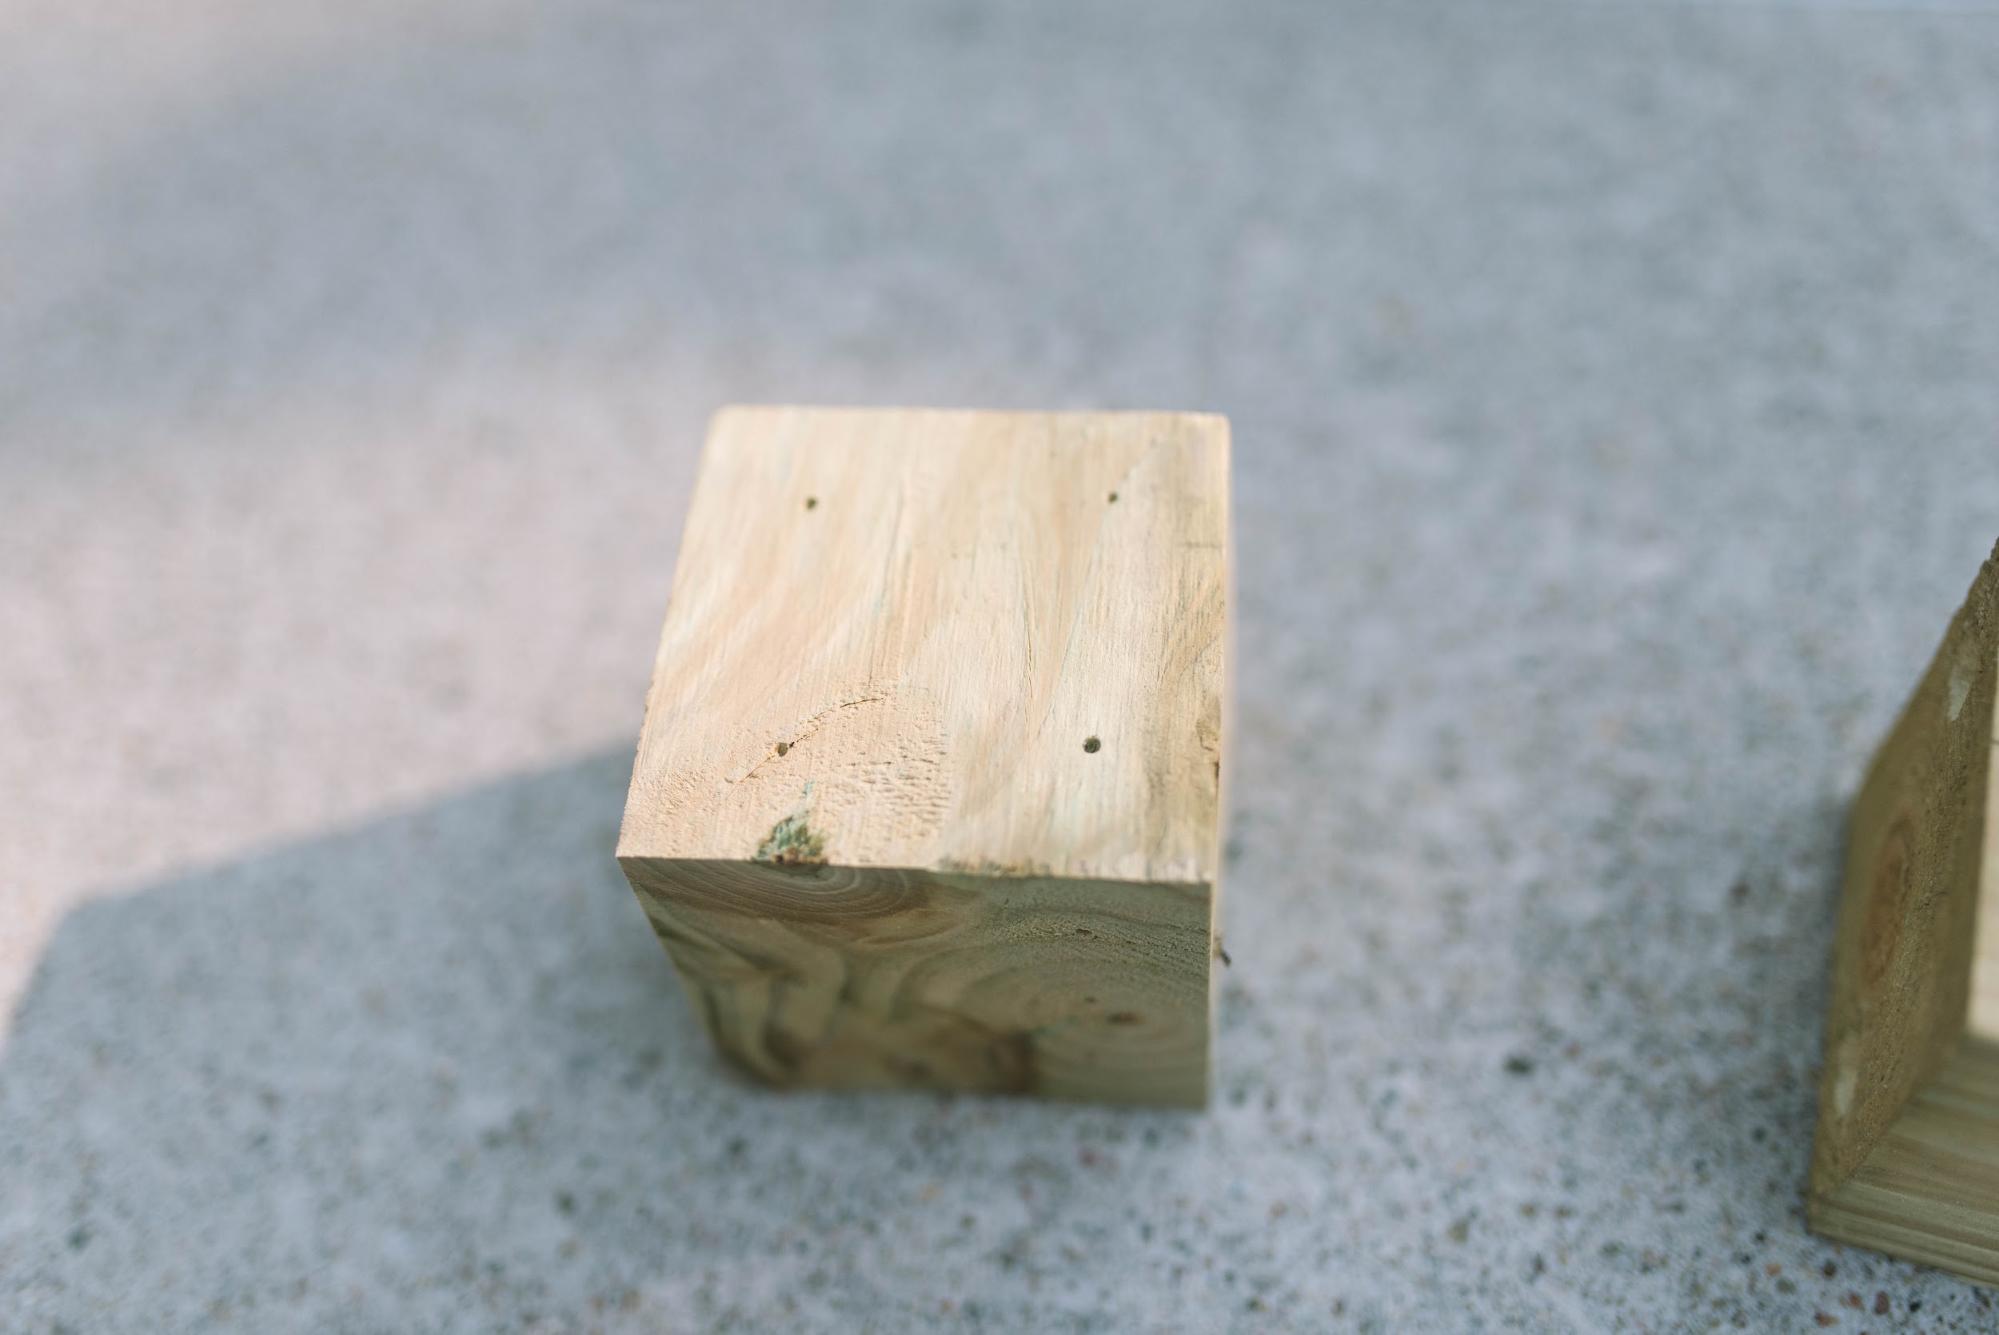
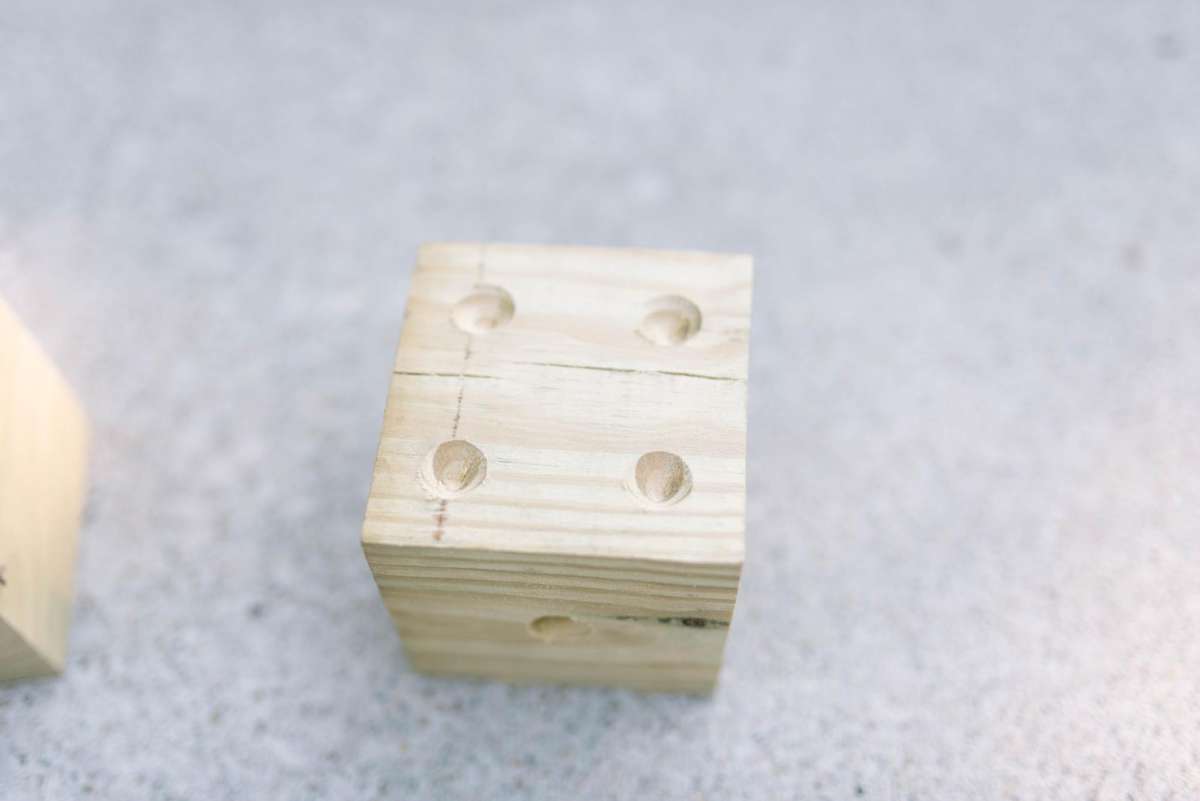
I decided to drill the holes before sanding because I wanted them to have a smooth edge around the holes. I decided on a countersink bit, because I had one handy. However, you could use a ⅝” Forstner bit to get a flat circle rather than a tapered circle.
Once all of this was done, I sanded down every side and all the edges. I simply started with one and counted through six as I sanded to make sure I didn’t miss any sides! Sanding the edges comes down to personal preference here. You can really round out the corners and edges if you want, but I chose not to as it was easier for me to stay consistent by keeping them somewhat sharp.
Once everything is sanded down, use a small paintbrush to add your paint. I realized later that a stain marker would be amazing for this project, as the paint can be a little tricky to navigate in this situation. I used a metallic dark silver for these ones! After painting each side, I let them dry overnight.
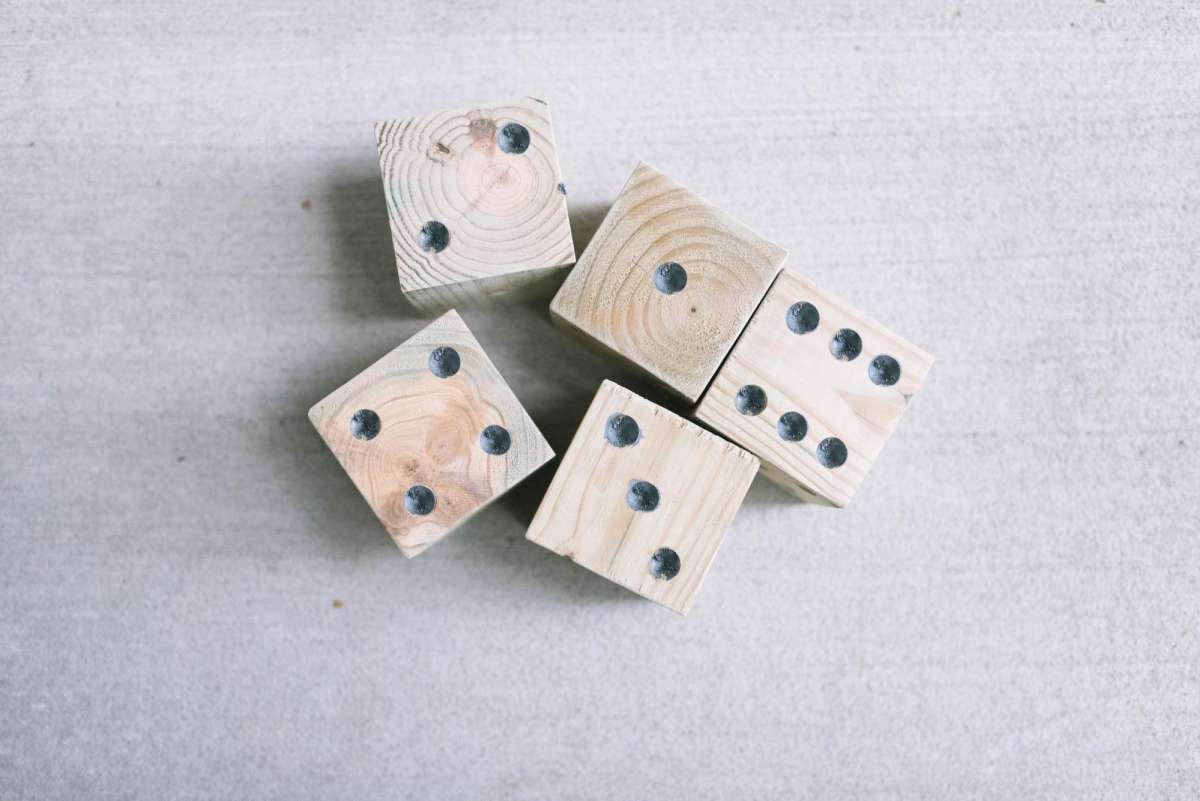
The following morning, I sprayed all of them with a clear lacquer just to protect them from any water that they might roll into. The final touch is to throw them all in a 5 gallon Sutherland’s paint bucket and you are ready to play!