This week, we did our blog on refurbishing old silver. You can find tons of beautiful silver pieces at thrift stores, that just need some TLC to be as good as new! Here are all the items we got to make this project possible.
- Silver pieces
- Microfiber rags
- Silver Polish
- Gloves
It’s a short list, and very simple to do but check out the step-by-step to see the beautiful change that takes place! Be sure to be near a source of water while doing this project, as I needed to rinse the pieces quite a few times to get my end result.
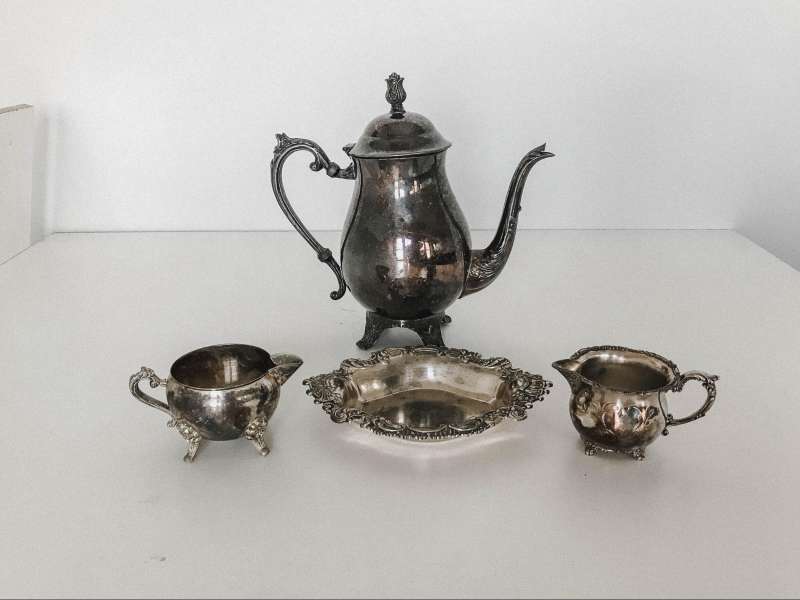
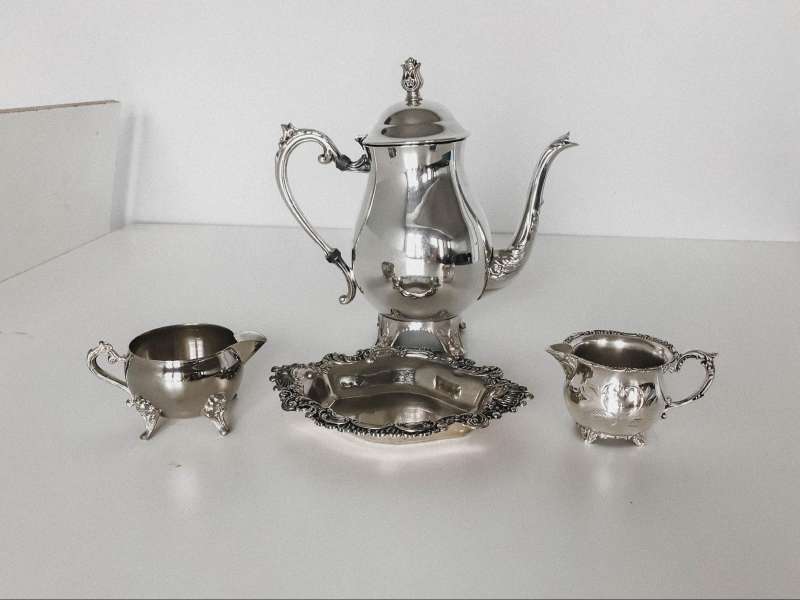
I started out with some really beautiful, delicate pieces of silver. I could see the potential they had, so I grabbed each of these pieces for three dollars at a thrift store! What a steal! I quickly dusted off each piece before starting the project.
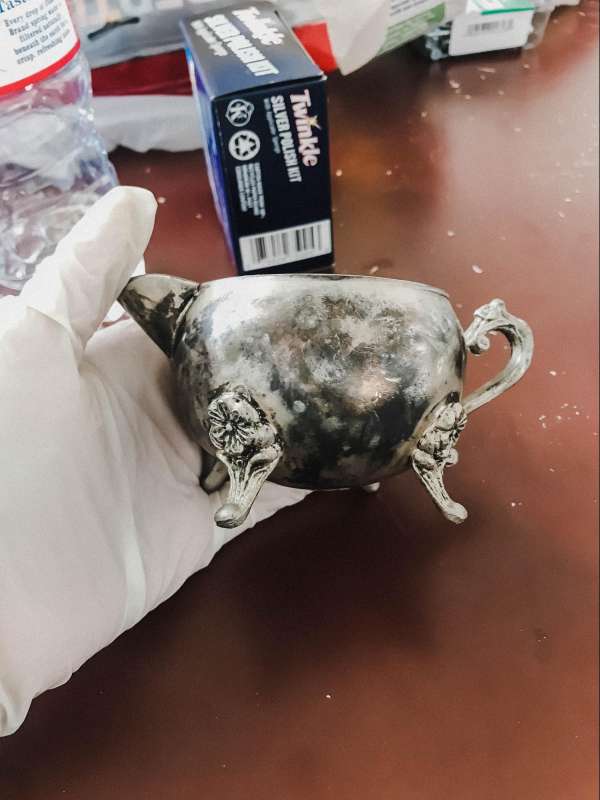
Once they were dusted off, I started by applying the silver polish in only a small area using a microfiber cloth. You do not want the solution to dry on the silver so it’s best to work in small, quick sections to get the best result. Be prepared, silver polishes don’t always smell the best so if you have a sensitive nose, best to wear a mask.
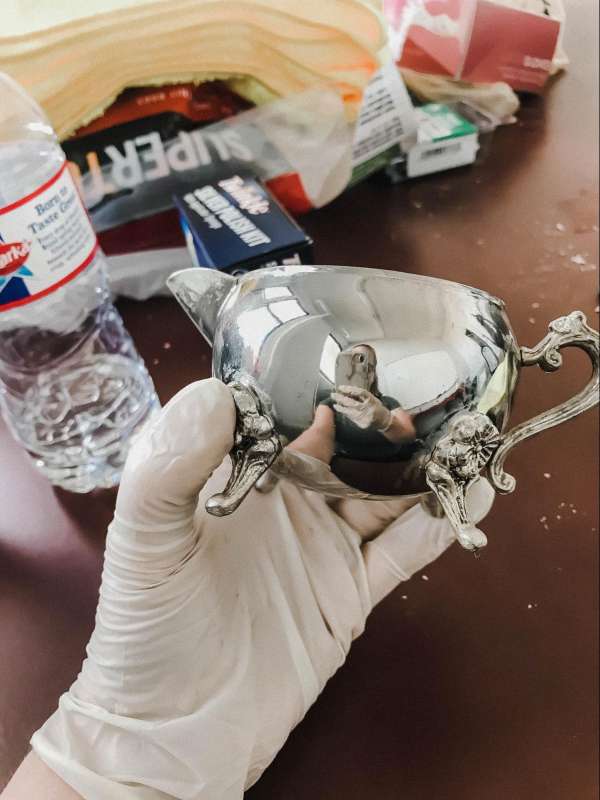
Look at that shine! This piece only took me about ten minutes. It is amazing how quickly the solution starts to work once you start applying it. Make sure to work on handles and other attachments individually as they can take a little extra time due to decorative details.
Once you are all done with each piece, you can hold the sweetest tea party or have new silver decoration for your mantle. This project is so incredibly satisfying to do, so if you are looking for a new hobby to de-stress, definitely try this one out! This end result is just so amazing!