As much as everyone loves the idea of transforming closets into open shelving, there are certain areas of the home where we just can’t do that. If you have an area of your home with outdated Bifold doors, take a peek at what our friend Katie Lamb has done to update her home! Check out her blog here: https://blog.katielamb.com/
This project is fairly simple to those who are beginner DIY-ers. It doesn’t take long to make your very own trimmed bifold doors. Say goodbye to your old bifold doors with wooden slats. Those old doors just collect extra dust that goes flying anytime you open them.
The first step is to remove the old doors and to replace the track. Everyone has tried to open bifold doors where the track was slightly off, and has experienced how frustrating that can be. Getting a brand new track in there will help create a smooth sliding door. Adding a new track will make sure that your new doors feel new for years to come.
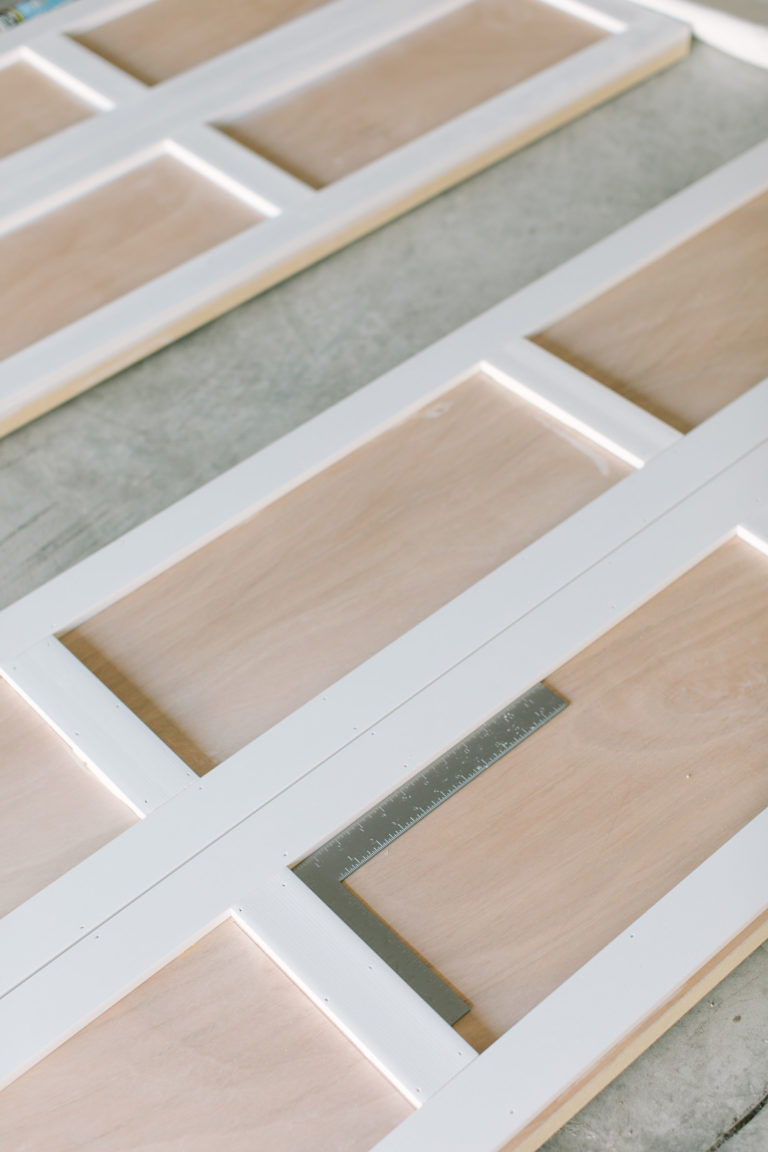
After measuring your door frames, simply get some standard bifold doors (you can find them here). From this point, you can design your doors how you wish. For this set, Katie added trim pieces to frame them. This gives them a clean, modern farmhouse look. If you want to get a more in-depth DIY on how Katie did her doors, click here.
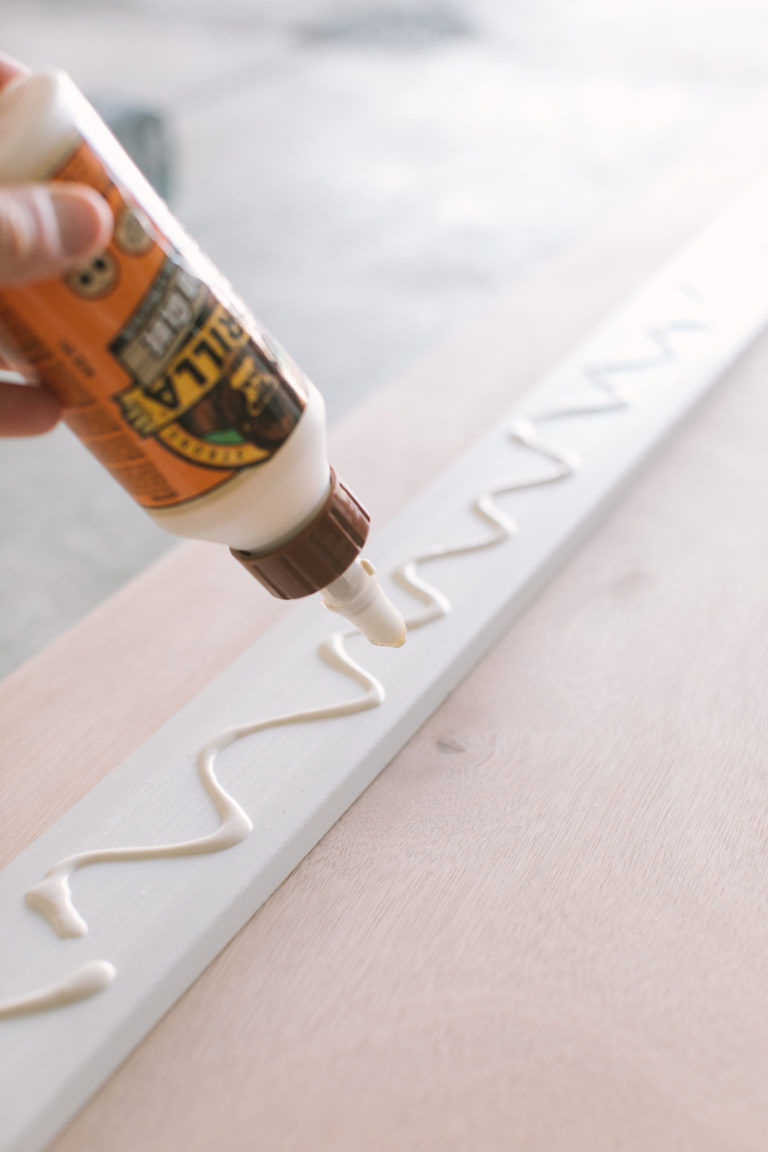
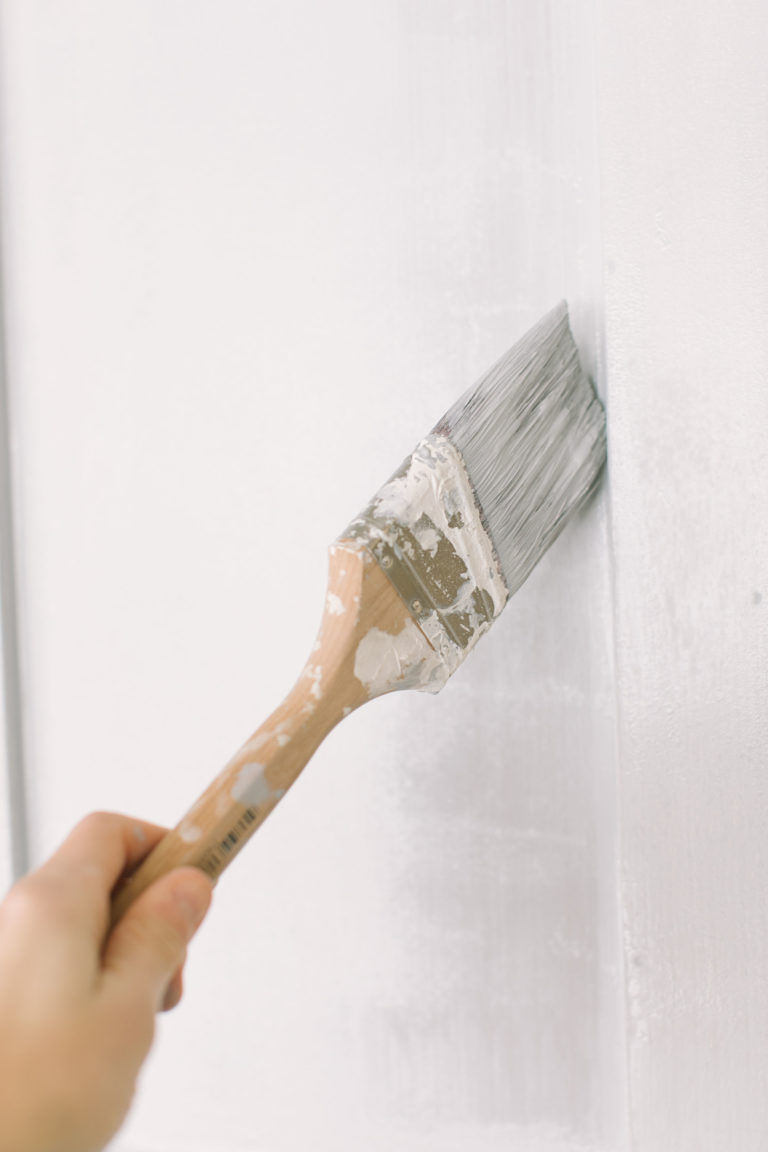
Cut your trim pieces down to the right size, then attach them using Gorilla Glue and a nail gun. To give the doors a more finished look go ahead and caulk the edges and fill the nail holes. Once you have built the doors and they have had time to dry, go ahead and add the paint in your chosen color and you are ready to install them and show off your new, updated closet space!