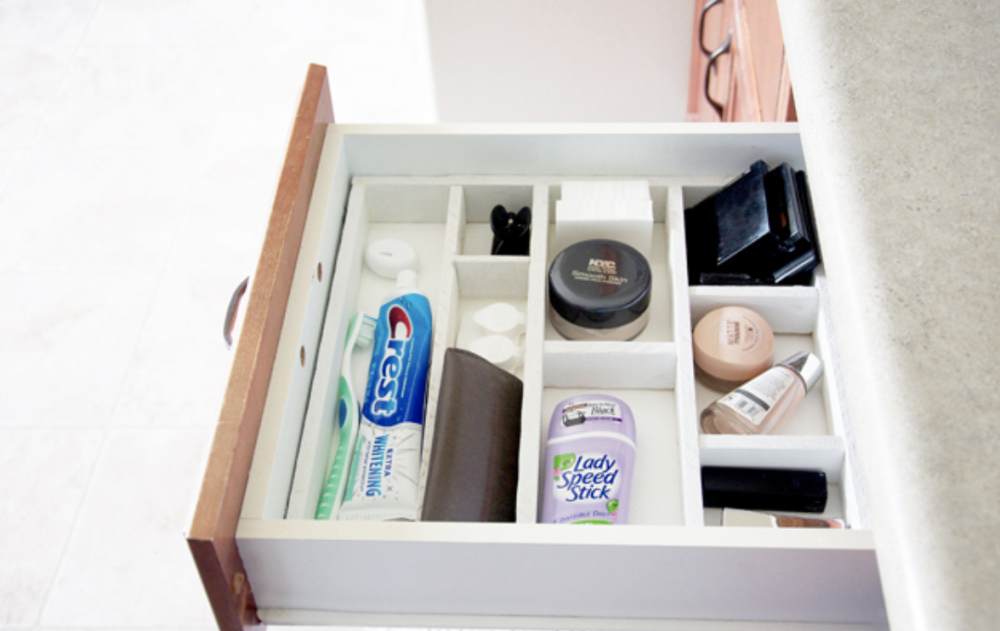
Since it is a new year, we want to focus on keeping our space neat and organized. Drawer organizers can be expensive or not the right size! So this week we decided to make our own!
Below is a list of the materials needed:
- Wooden Shims (custom cut to fit your drawer)
- Elmers wood glue
- White paint
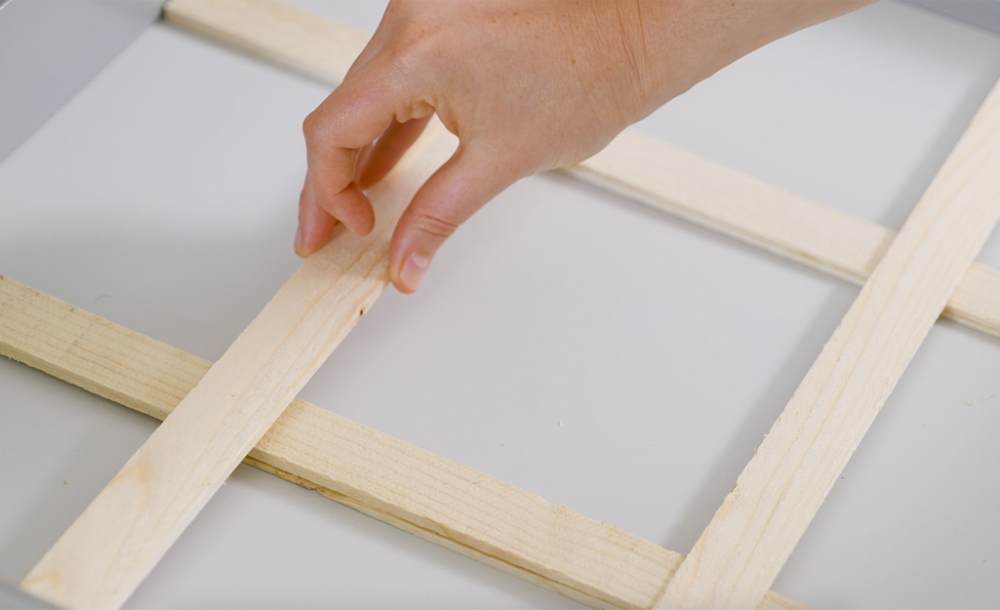
This is a very simple project, but goes a long way in organizing bathroom drawers and junk drawers. So let’s start of 2021 correctly! The first step is to measure your space and properly plan out what you want your drawer to look like. Make sure you like how it looks before you decide to glue everything together.
Wood shims are very easy to work with and are inexpensive to buy. So use this opportunity to go crazy with drawer organizing. Try this out in your kitchen or kids rooms to help keep everything neatly in it’s own spot.
Once you have measured and cut your wood, lay it out again, making sure each piece will fit properly. When you are sure that it all fits, start adding wood glue to each piece and arrange them how you like.
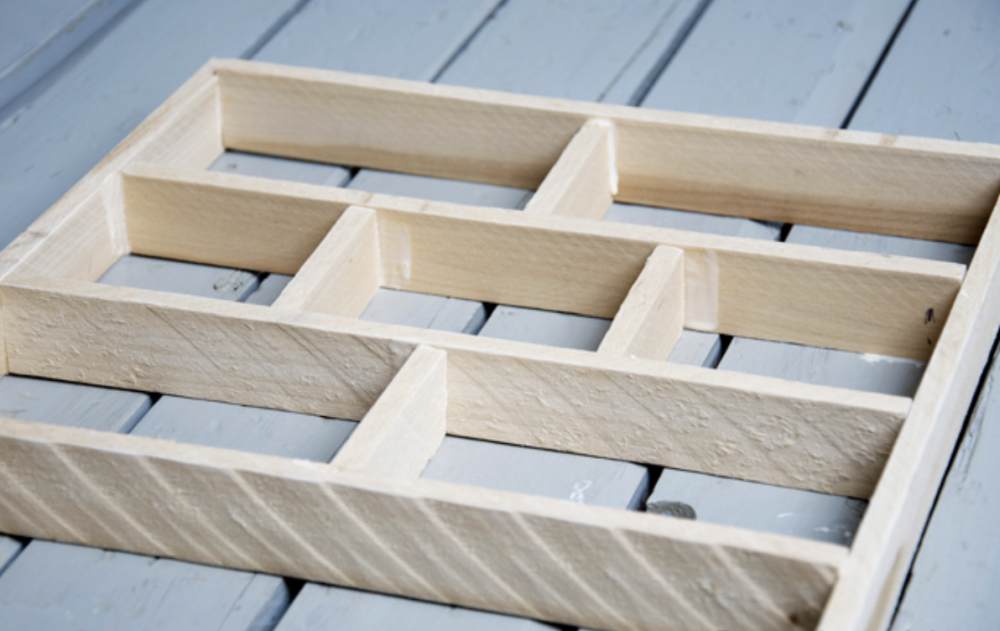
Wipe off excess glue just to keep the wood looking smooth and to prevent it from getting too sticky. Give the organizer plenty of time to dry. I decided to paint mine white since the inside of my drawers are white. It almost makes the entire thing look like a built- in organizer.
Once you have painted your organizer, pop it right into the drawer and start organizing. This has already helped keep toiletries and makeup all in order in the house! Show us your organizers or let us know what you would like to see next!