
An orchid is a wonderful one-of-a kind gift you might have received, say for Mother's day. It is also a unique gift for many plant lovers. However, after months of enjoyment, the blooms come to an end. Now what? You could let it die and throw it away; or you can make it an addition to your indoor living plants.
Growing an orchid can be intimating for many who are not used to caring for tropical plants indoor. It is just like any indoor plant. It needs the right amount of TLC, basic care and knowledge. Your orchid will bring you the tropical joy years and years to come.
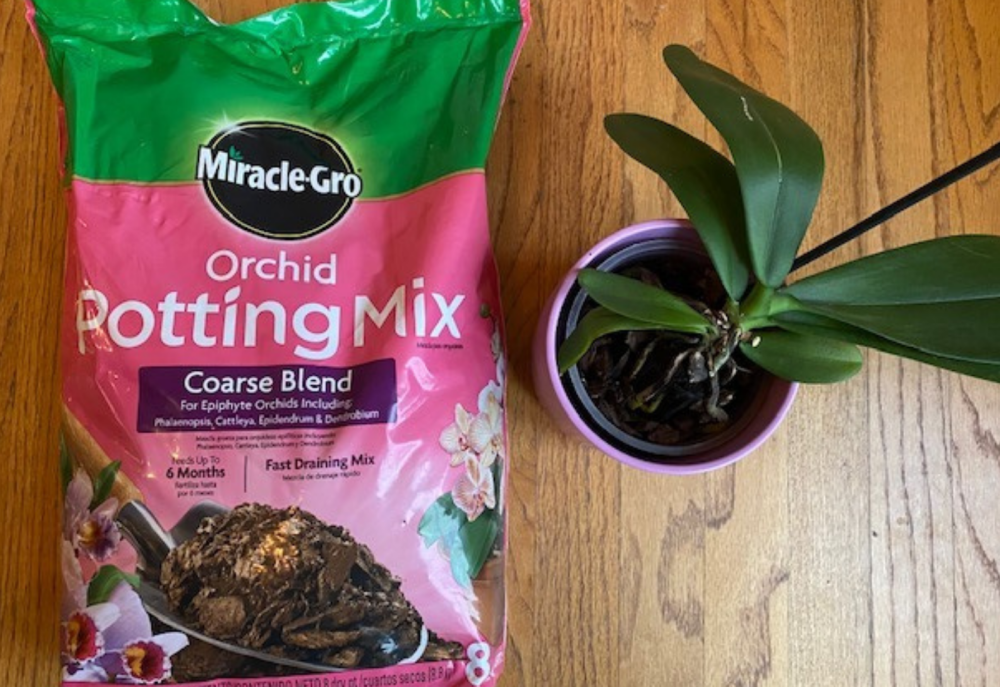
Today we are going to inspect the condition of a store bought plant and examine what is required for transplanting and reviving.
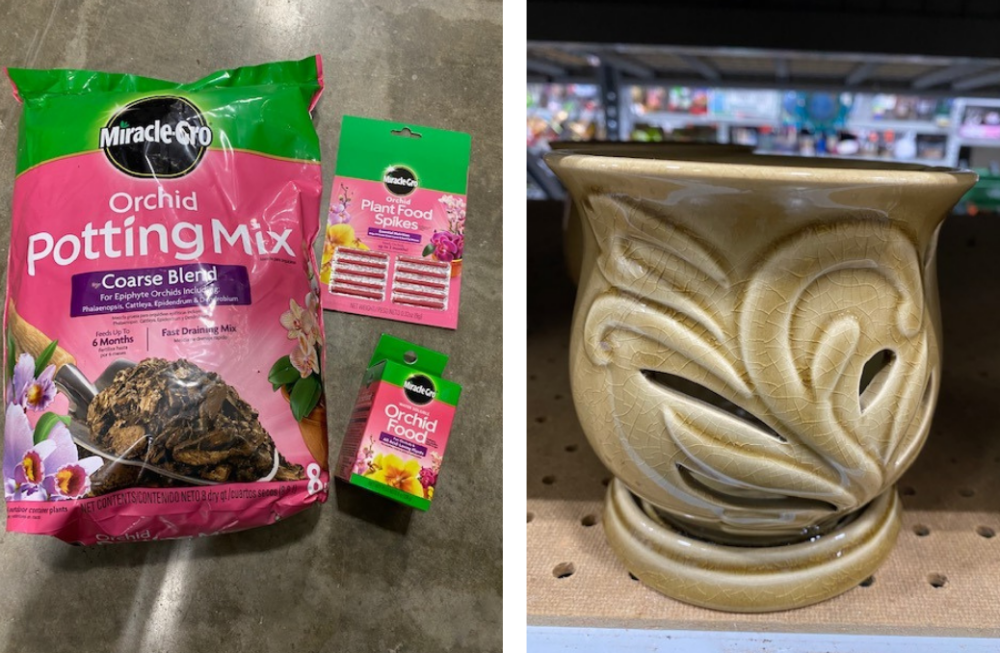
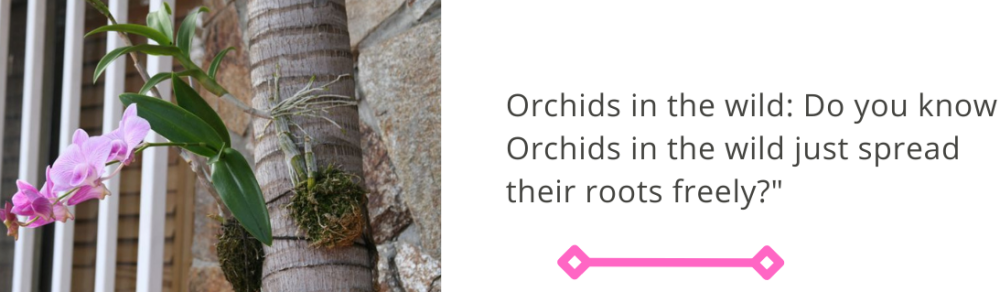
The right soil, type of planter and climate conditions is the key to success. Orchids prefer daytime temperatures of 75 °F or more and nighttime temperatures of 65°F or more. The best spot is in indirect, bright light. Try to place them near a south or east-facing window. Orchids like loose soil and a planter that allows roots to grow freely. There are many planters designed specifically for growing orchids.
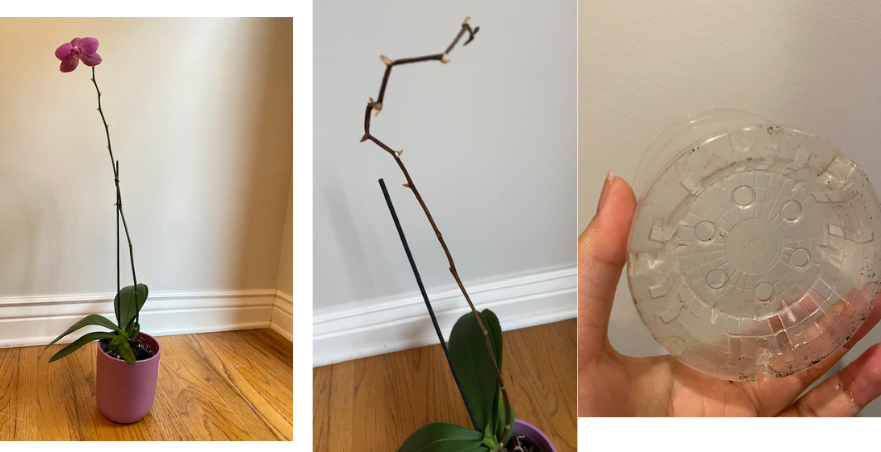
Usually orchids will come in a plastic container with ample drainage on the bottom. They usually come with many blooms in place. After the flowers drop, you could leave the flower spike (or stem) intact, cut it back to a node, or remove it. We let the stem die out. DO NOT PANIC. It doesn't necessarily mean your plant is dying. As like other plants, you want this to happen for the plant to store all the energy for a strong root development and the next round of show stopper bloom.
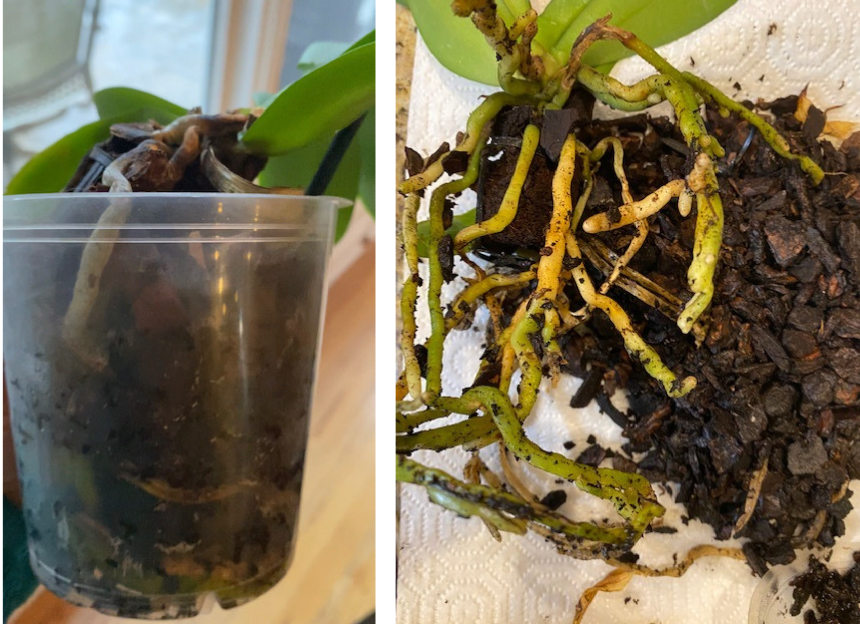
As you can see the roots are impacted . This is a big NO NO for orchids, they want to breathe. The right orchid potting soil is a must. It tends to be more coarse to allow the root system to find its way to breathe and grow.
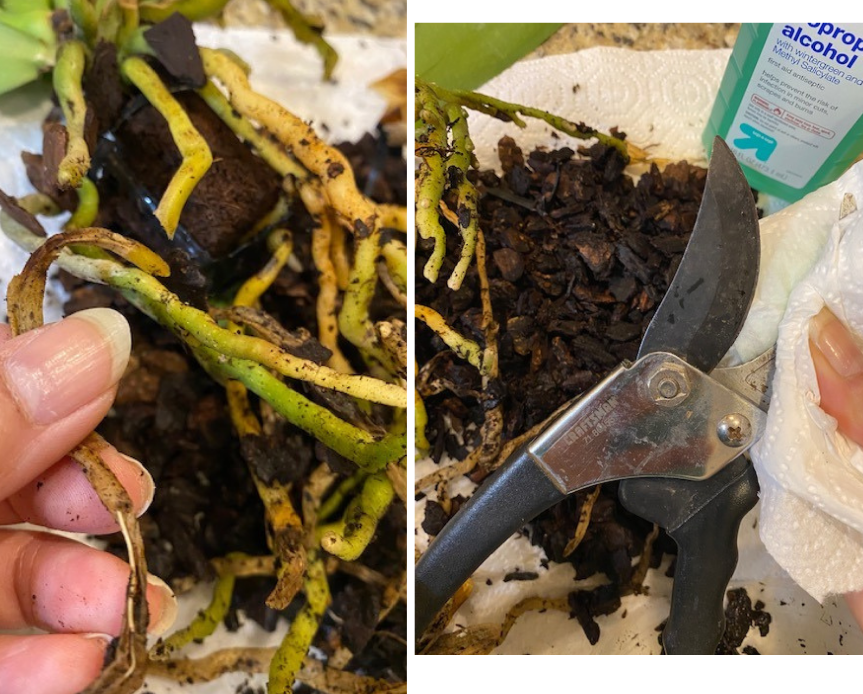
Loosen up all the soil and the compacted moss that suffocate the root system. Inspect and cut off dry and dead roots. It will feel like old dry paper, If the root is firm, you can leave it be. You should make sure the prunner or scissors are clean to avoid fungus getting into the roots. If the roots are dry you can spray it with water to determine which need to be removed. Even though some might look yellow. If it is firm, you can leave it.
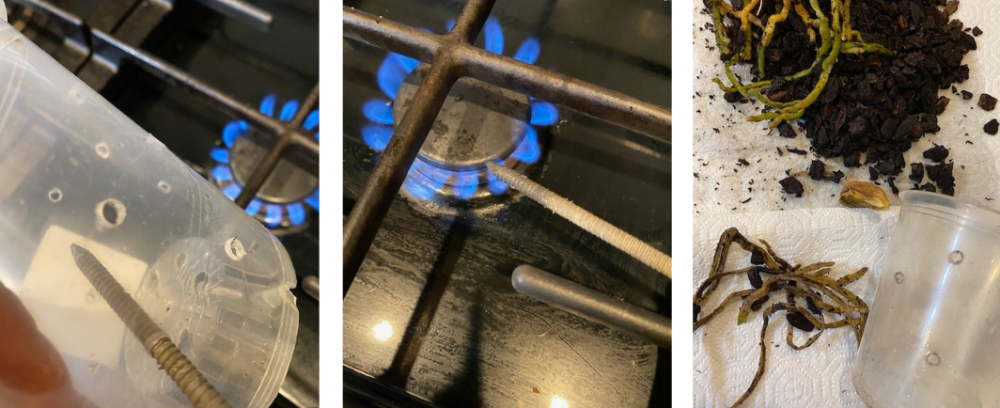
It is ideal especially for beginners to keep the orchid in a transpaprent liner so you can keep an eye out for how the root will develop. It is also intriguing to see it grow. We decided to keep the previous container since it wasn't too overgrown but we will make adjustments. Clean it thoroughly, heat up a good size nail to punch the holes around container big enough for the root to escape (beware the nail might get hot. Wear a kitchen mitten or use pliers to hold the nail.)
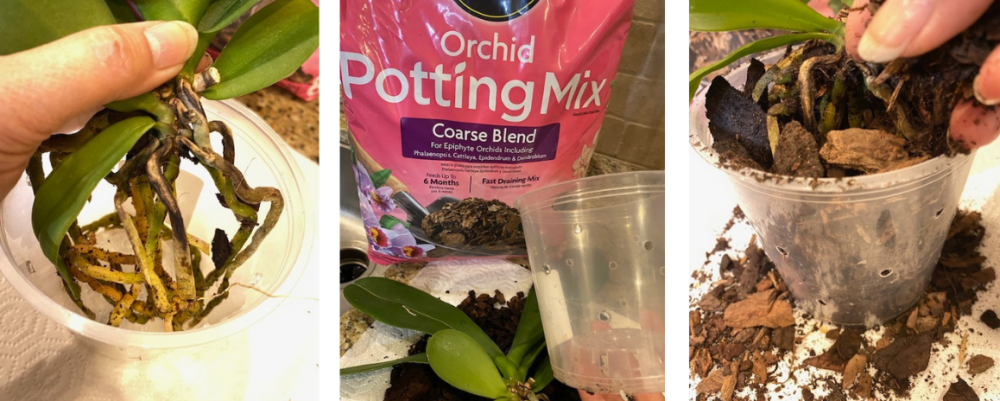
Repot with a specialized Orchid Potting Mix. Once it's done, you can soak the container in luke warm water about 3/4 full and let it sit a little less than hour for the root to soak up water (do not use salt softened or distilled water. ) Let it dry. Avoid overwatering. Constant wetness will cause the roots to rot. It is recommended not to water the orchid from the top.
You can try a "humidity tray" method where the pot is placed on pebbles above the water line. This helps to insure that the base of the pot is not immersed in water, increases humidity for the plant and provides some air circulation under the pot.
Now you just have to wait and be patient. Depending on the variety, the reblooming time may vary. Orchids spend a period of their life cycle dormant or resting. Dormant orchids usually lose their flowers and leaves in the winter months to prepare for blooming in the spring and summer.
Be sure to grab orchid food and feed at your local Sutherlands to keep your orchid happy and healthy.